March 2010 CTMH Product Spotlight Blog Hop Featuring Liquid Glass
Welcome to the March 2010 Close to My Heart Product Spotlight Blog Hop. This month we are featuring one of my favorite products – Liquid Glass! I feel this is a must-have for everyone and you will see why in this post and throughout the blog hop.  This is a circle hop so if you started here just follow along until you make your way back to the blog you started on.  Enjoy!
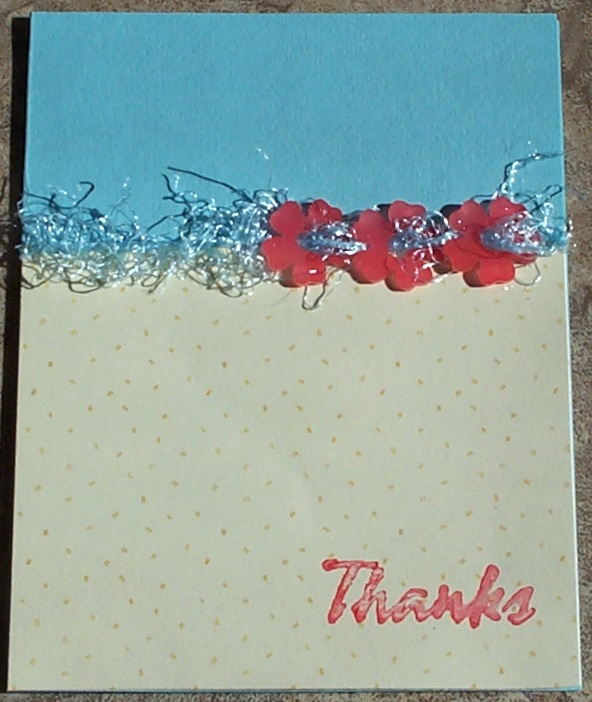
There are really limitless ways to use Liquid Glass.  One of it’s great uses is to add dimension to paper or stamping.  The bottle’s fine tip makes it very easy to trace lines. You can also fill in tags for an epoxy look similar to page pebbles.  Now I would say the most common use for Liquid Glass is as an adhesive but I hear over and over from customers that they do not realize this.  It works great to adhere buttons, metals, ribbon, chipboard, and other ‘hard to stick’ items.  One of my favorite uses for it is to apply glitter!  It is so easy now to turn some of my older (less loved) paper into something new and sparkly and lovable once again.
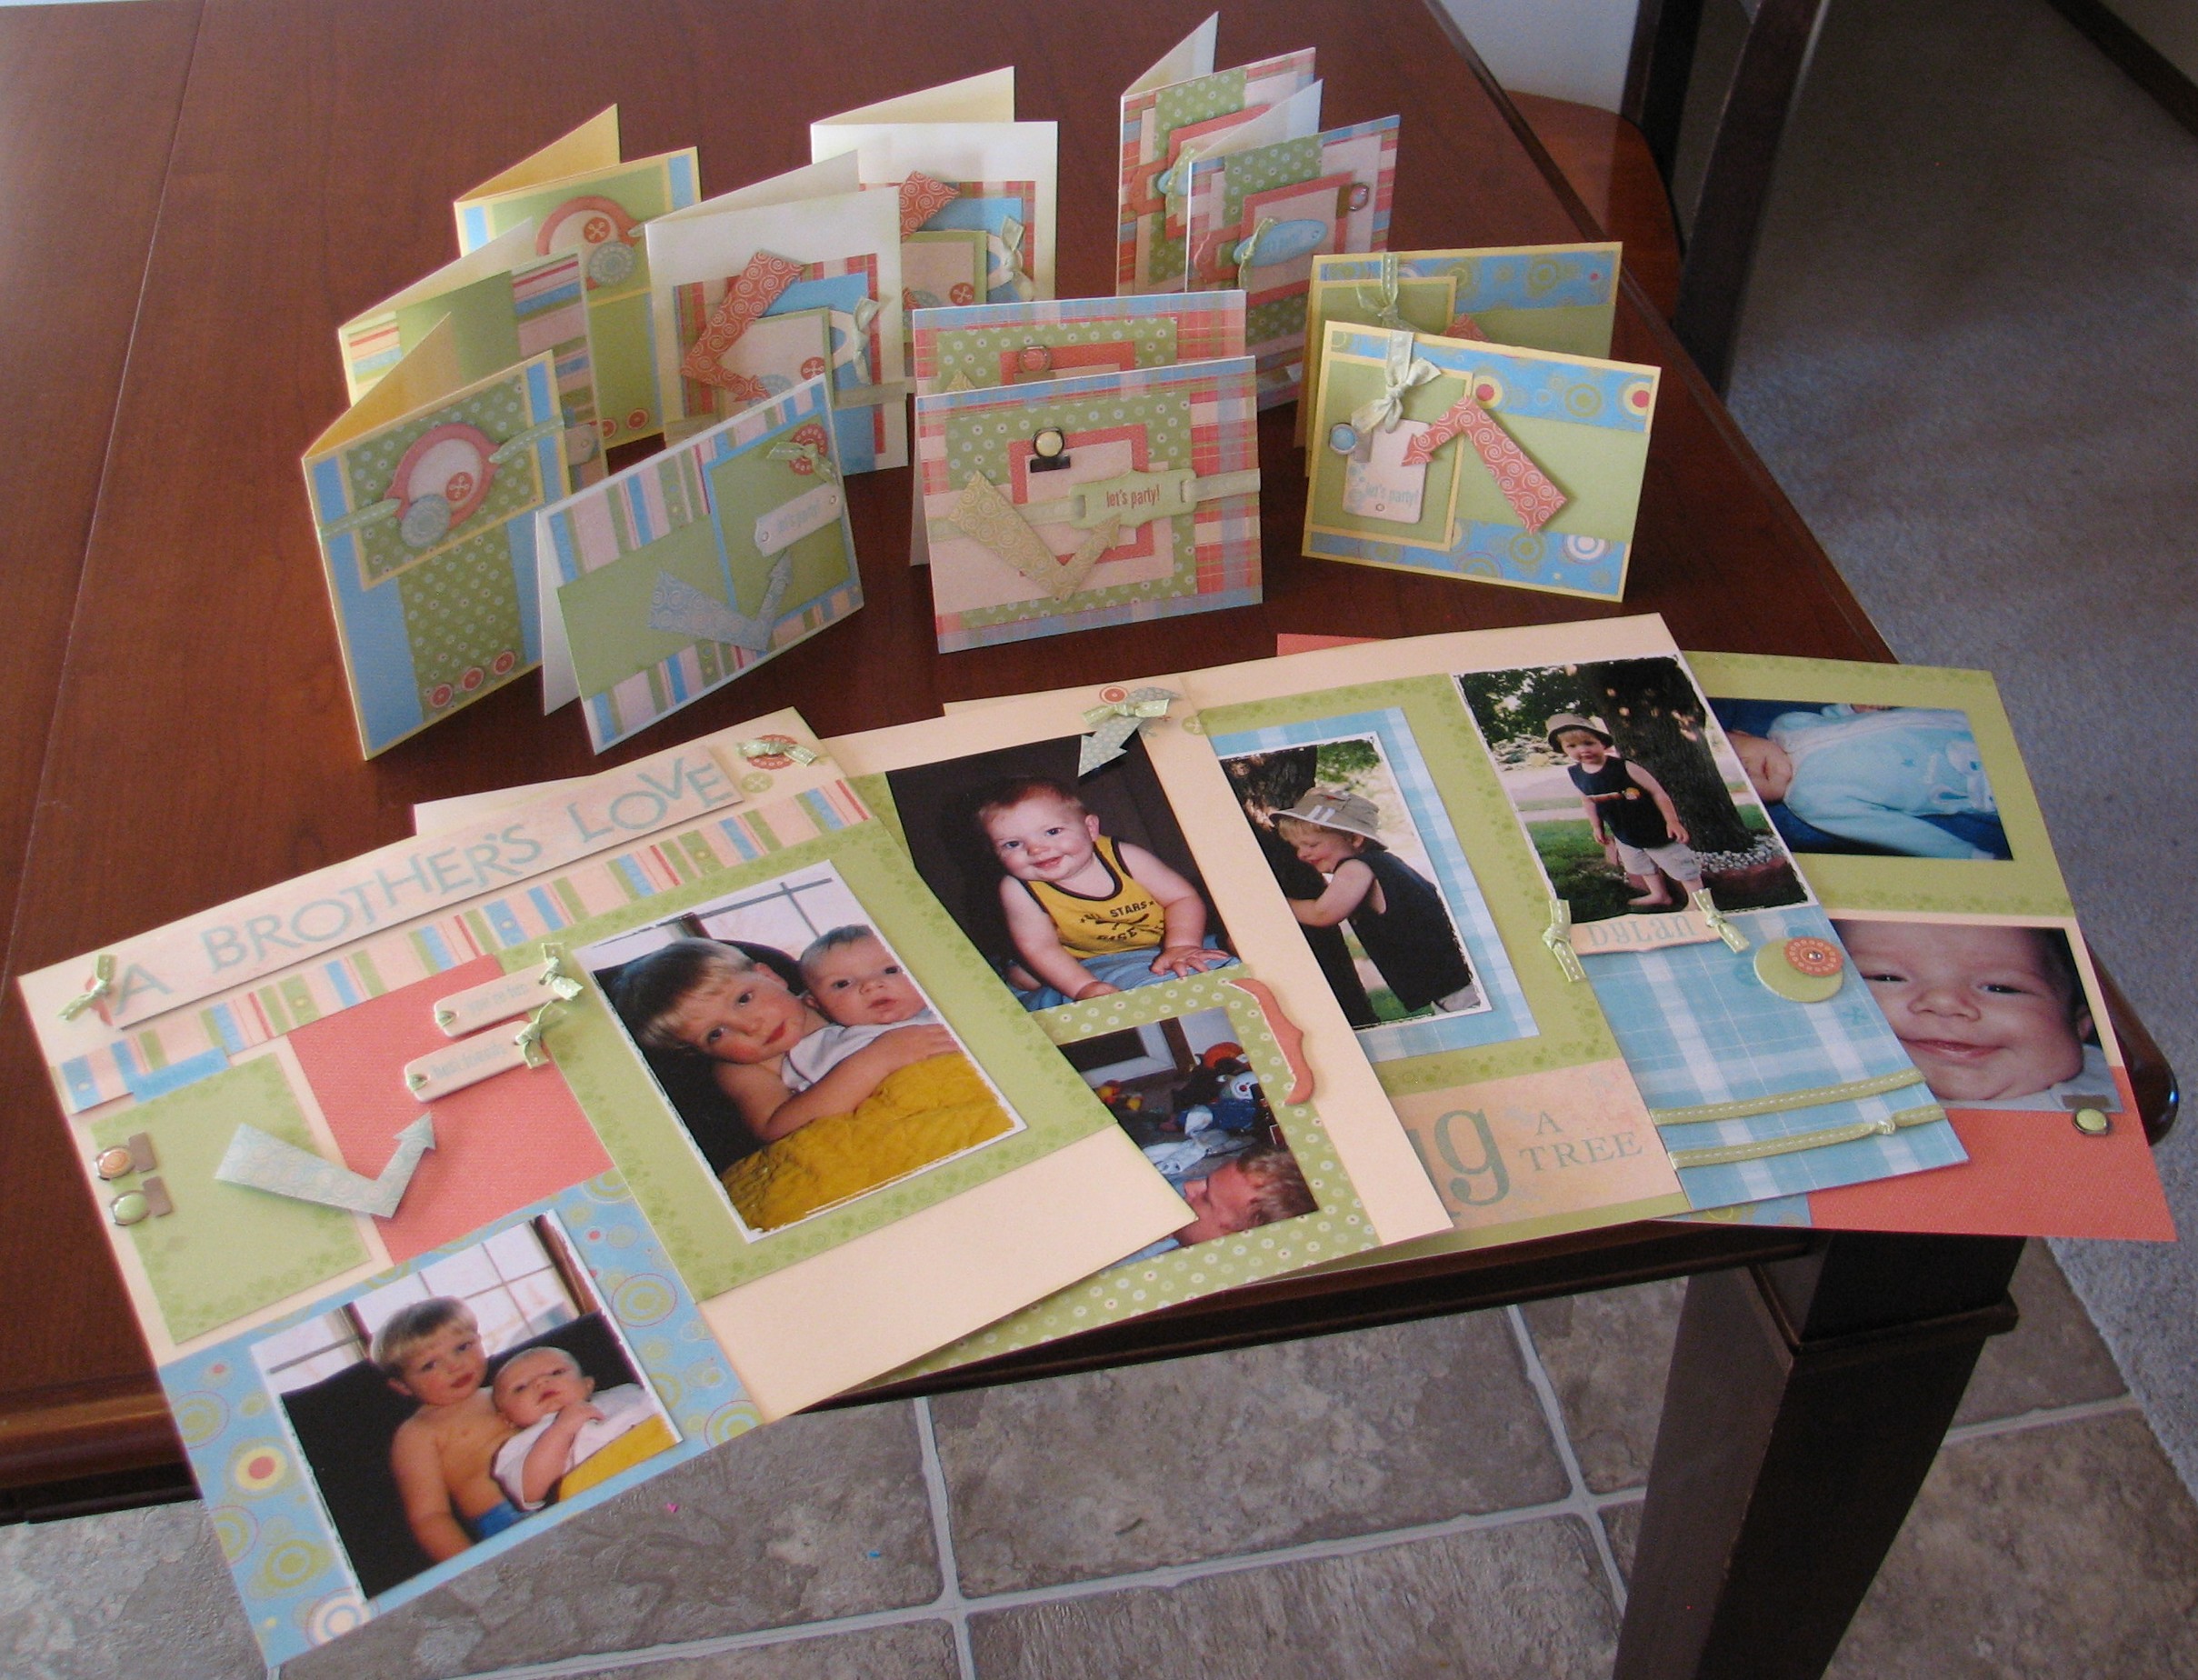
Here are some examples of my use of Liquid Glass:
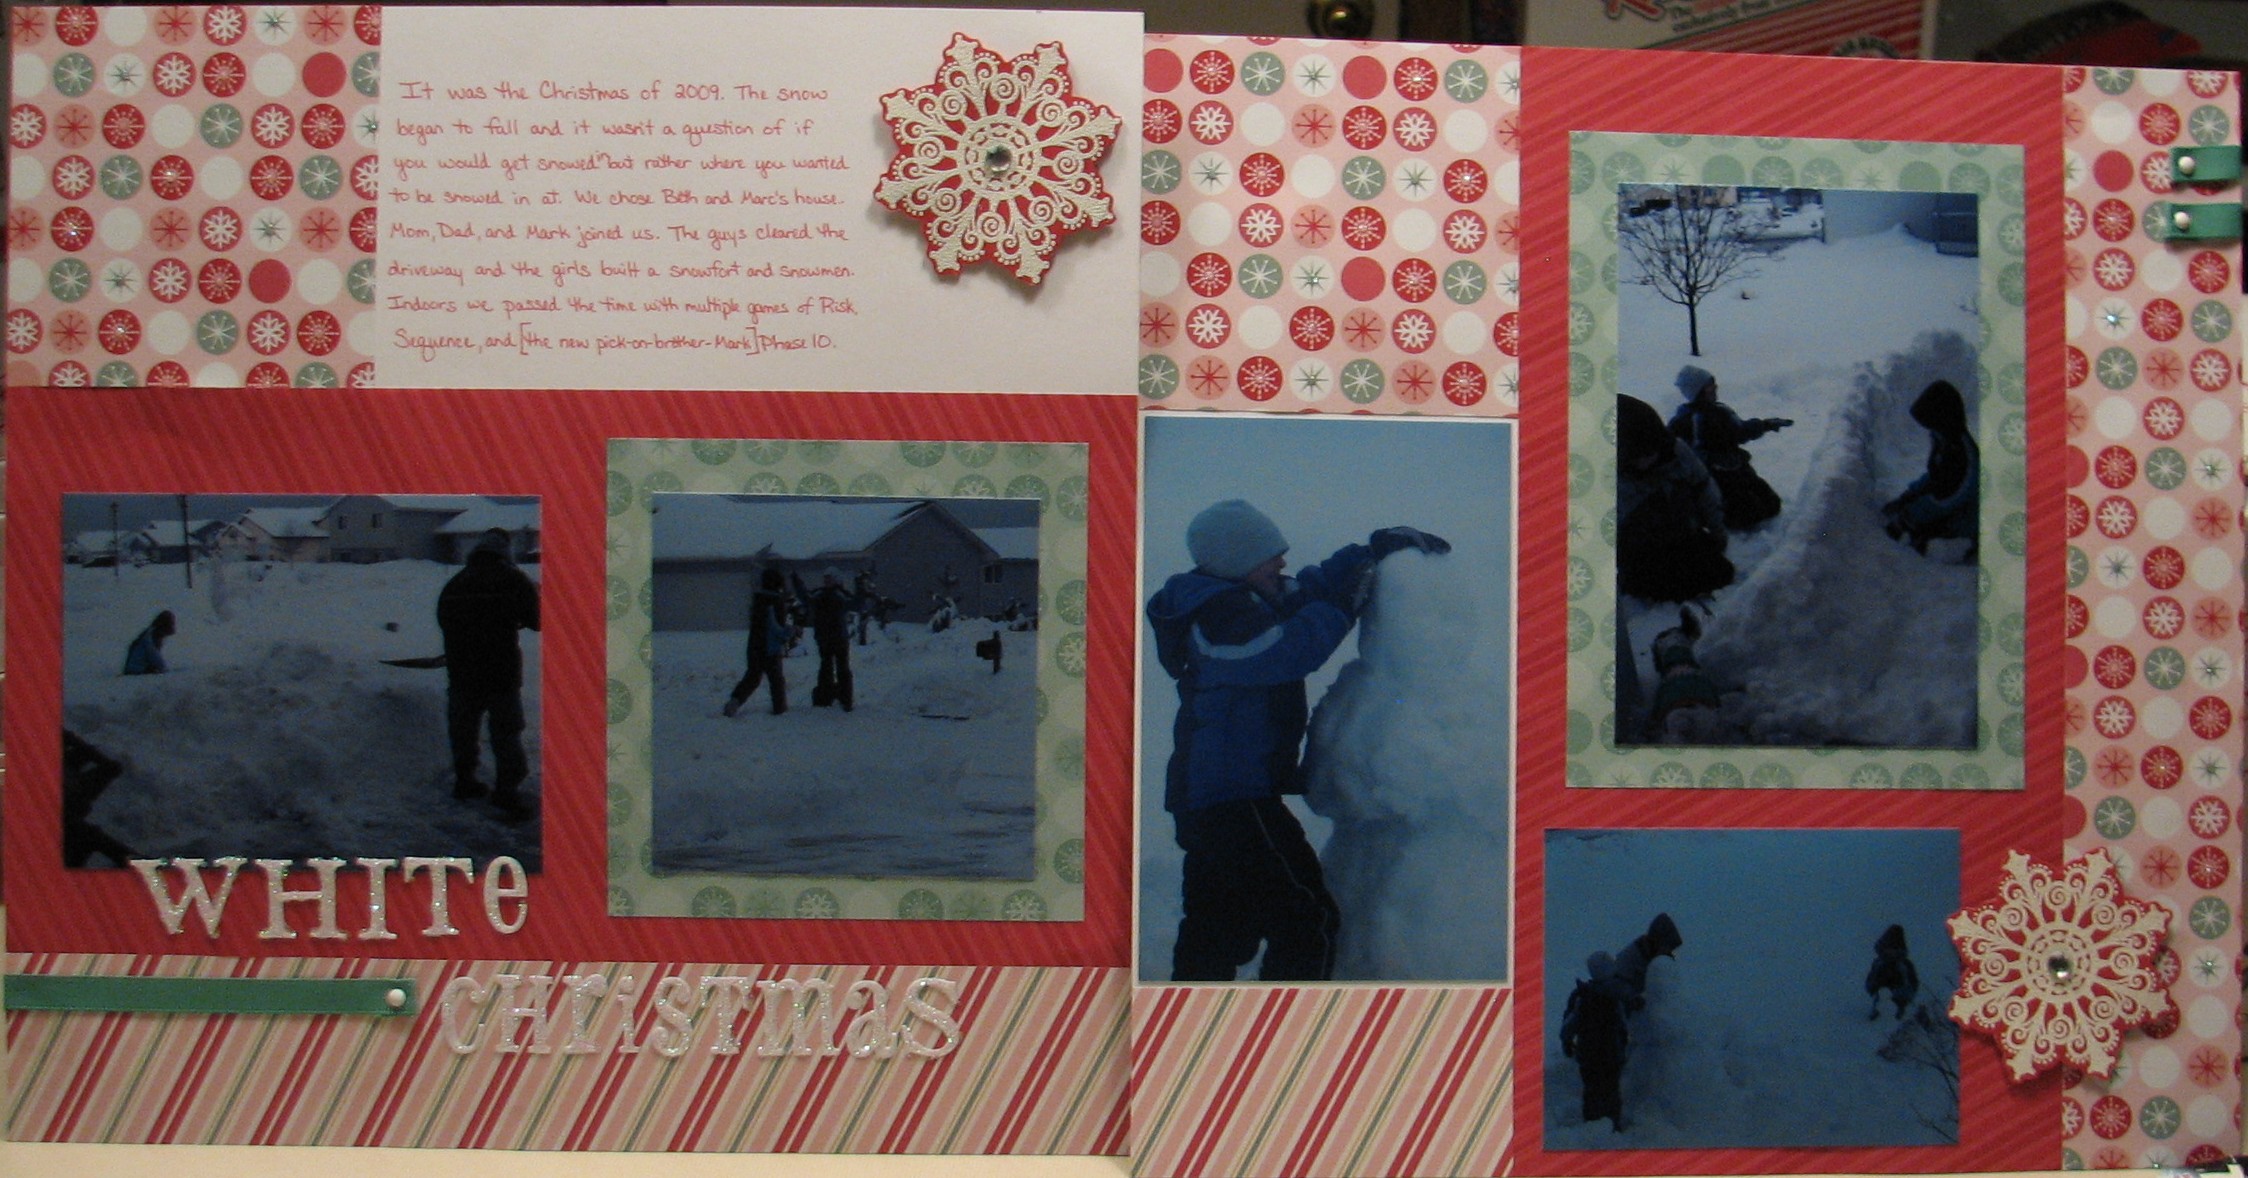
This is a layout I made for a swap and I’ve now added the pictures, title, and journaling.  I “dotted” Liquid Glass on the circle paper in the middle of a few of the snowflakes, then sprinkled with Prisma Glitter – bingo I’ve got my own bling paper!  BTW, I just love that snowflake stamp! Products used are all CTMH: Creative Basics Jingle Collection, Color Ready Alphabet – Hodge Podge, Sparkles, White Daisy Cardstock, White Daisy Embossing Powder, Versamark ink, Liquid Glass, Prisma Glitter, White Daisy brads, and New Fallen Snow Stamp Set.
 Then I added the liquid glass to the letters I wanted to use and added the glitter.  This is the first time that I’ve used this technique on letter stickers before adding them to my layout.  What I learned was that but doing them this way (and being sloppy with the Liquid Glass) it also made the letters sloppy in a way – but it was perfect for this layout.  You can see what I mean by looking at a closeup of the title (it is especially noticeable on the W).  Where I went overboard (out of the lines so to speak) when I added the Liquid Glass – that part stayed with the letter once it was dried and I pulled it off the sheet.  I really love the result but it was an accident.  I probably couldn’t have made it work if I had been trying!
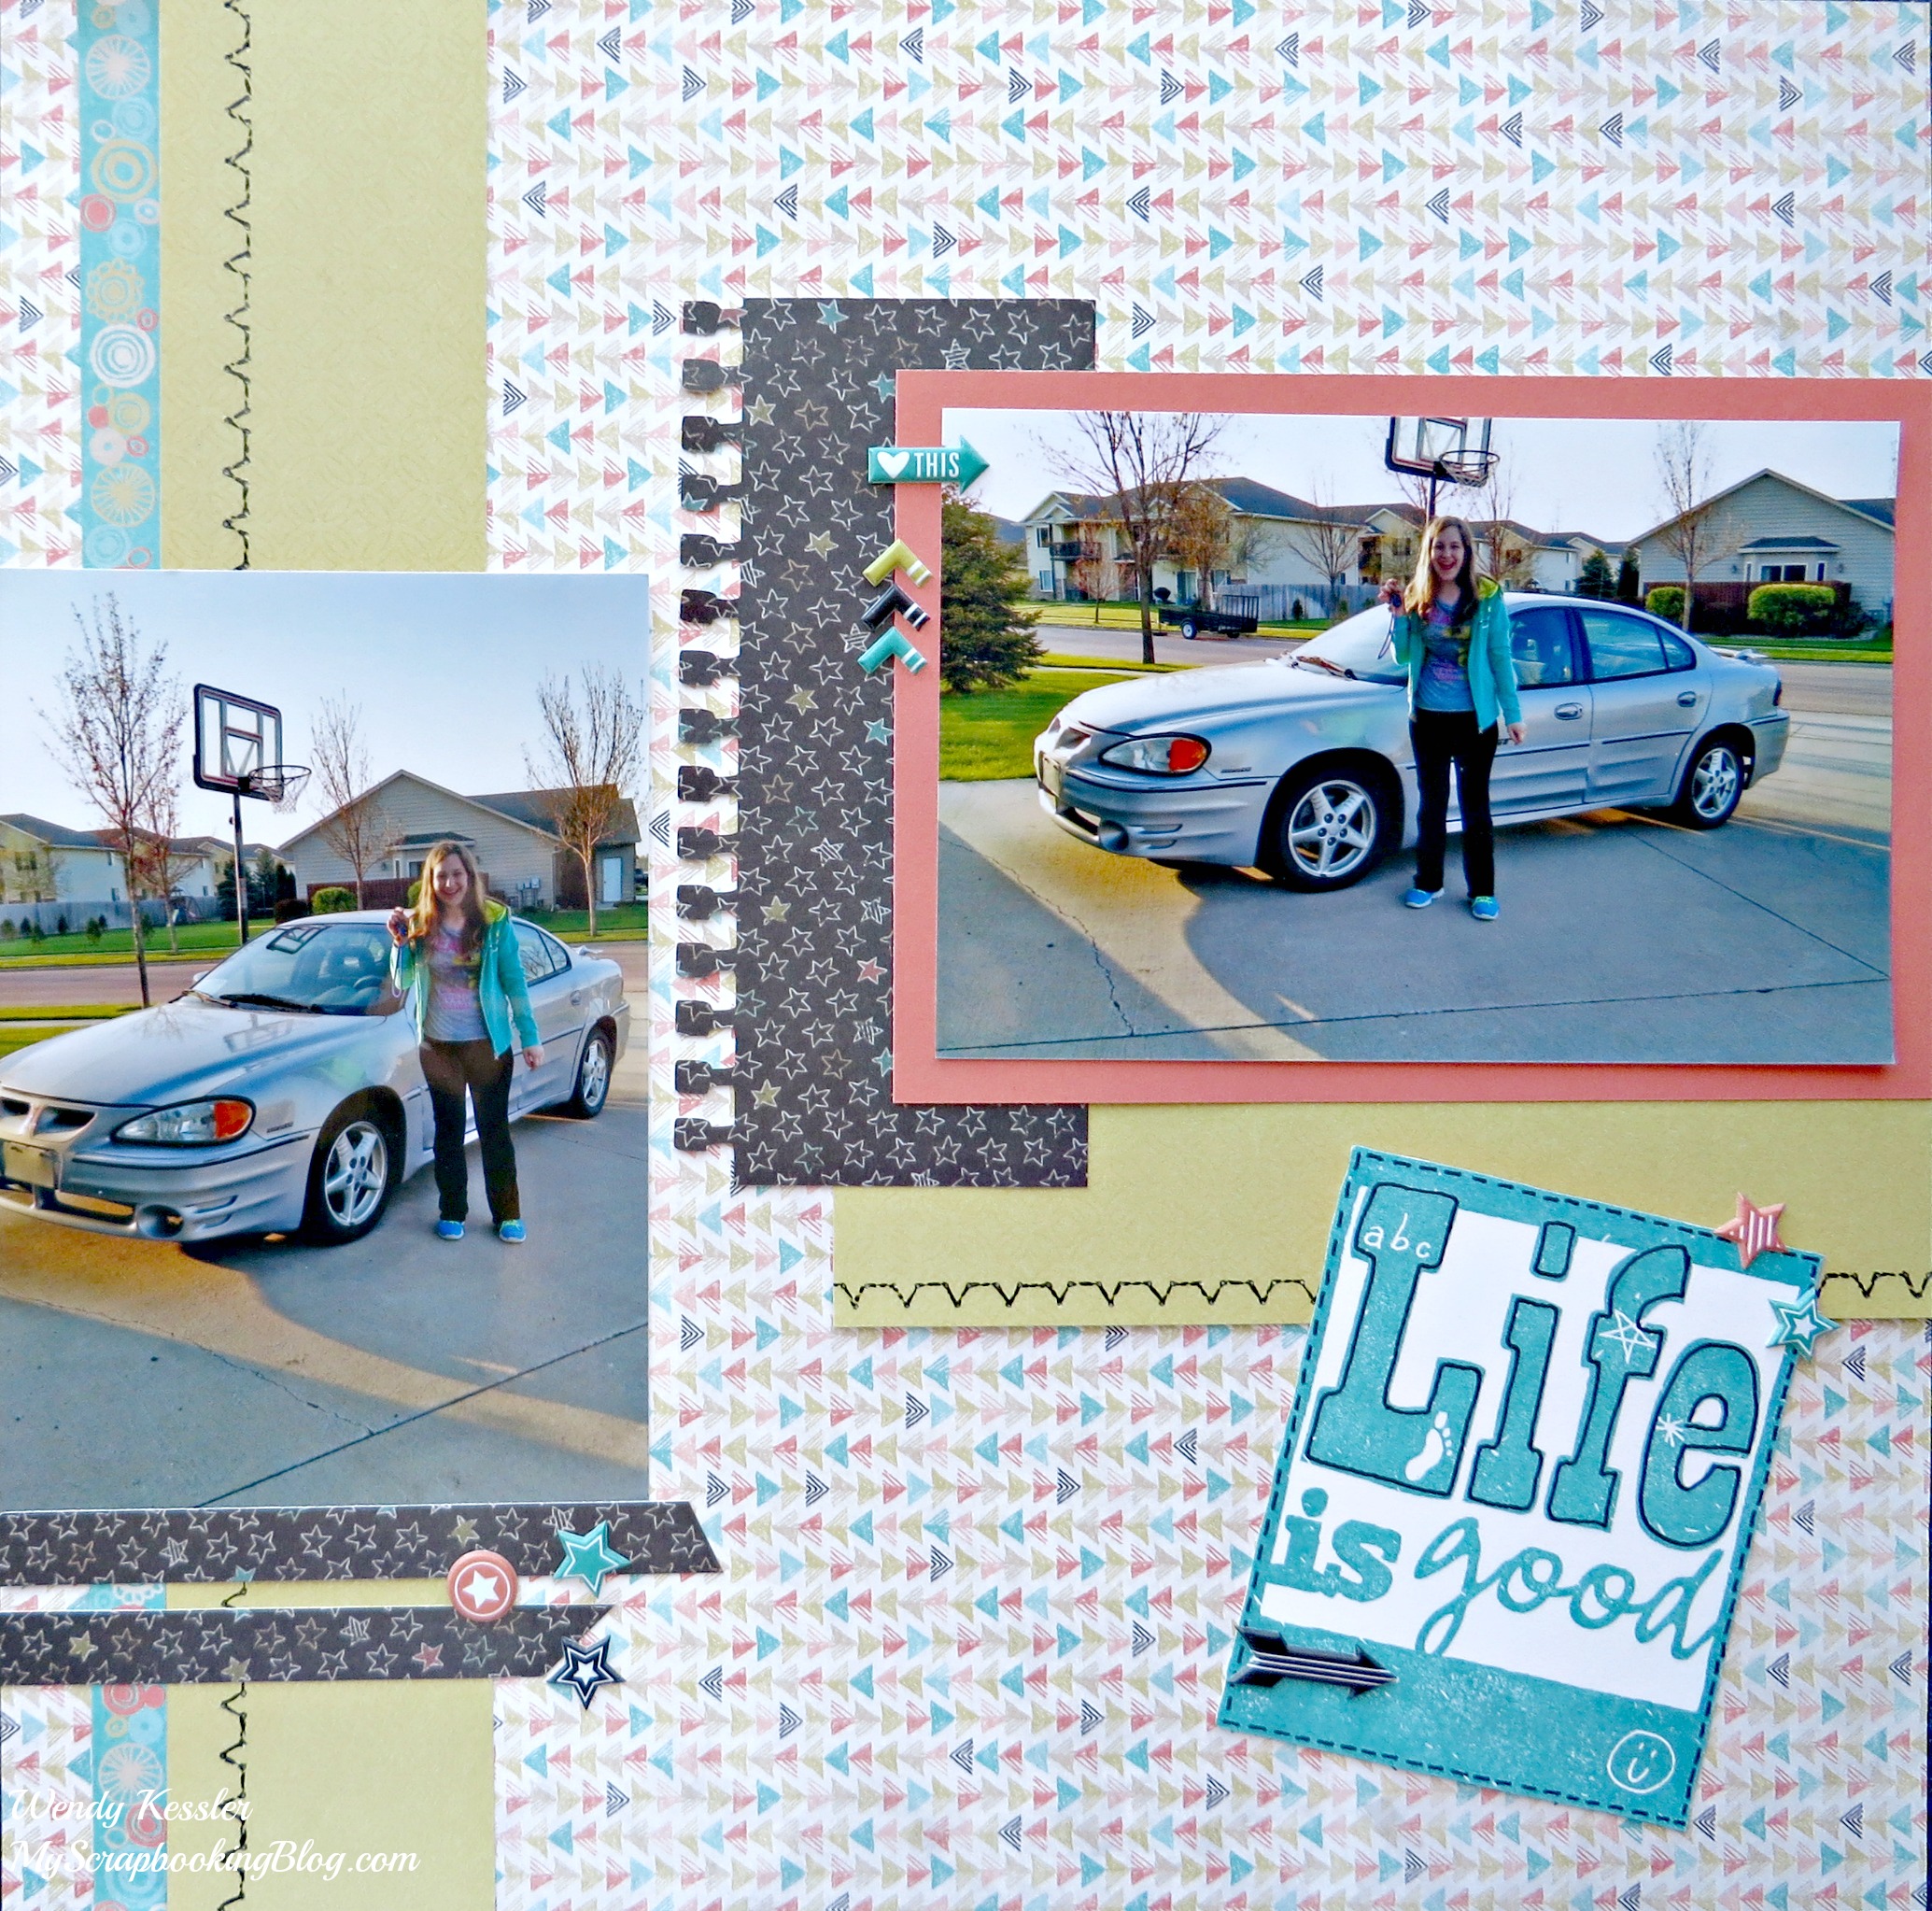
This next one is a Workshop on the Go layout.  Notice how Liquid Glass was added to the dots on the polka dot paper for added dimension and a unique look.
 Products used are all CTMH: Dimensional Elements in Color – Organic, Twitterpated Level 2 Paper Pack, Designer Ribbon Rounds Chocolate Collection, Natural Hemp, Brads Basic Assortment, Liquid Glass, Chocolate ink, Friendship Alphabet Large Stamp Set and Hello There Stamp Set.
In addition to the many ways to use Liquid Glass for scrapbooking and cards you can also use it around the house.  I have used mine to repair my shower curtain, to fix toys and Christmas ornaments, and it works great to keep those feet pads on the bottom of my dining room chairs!
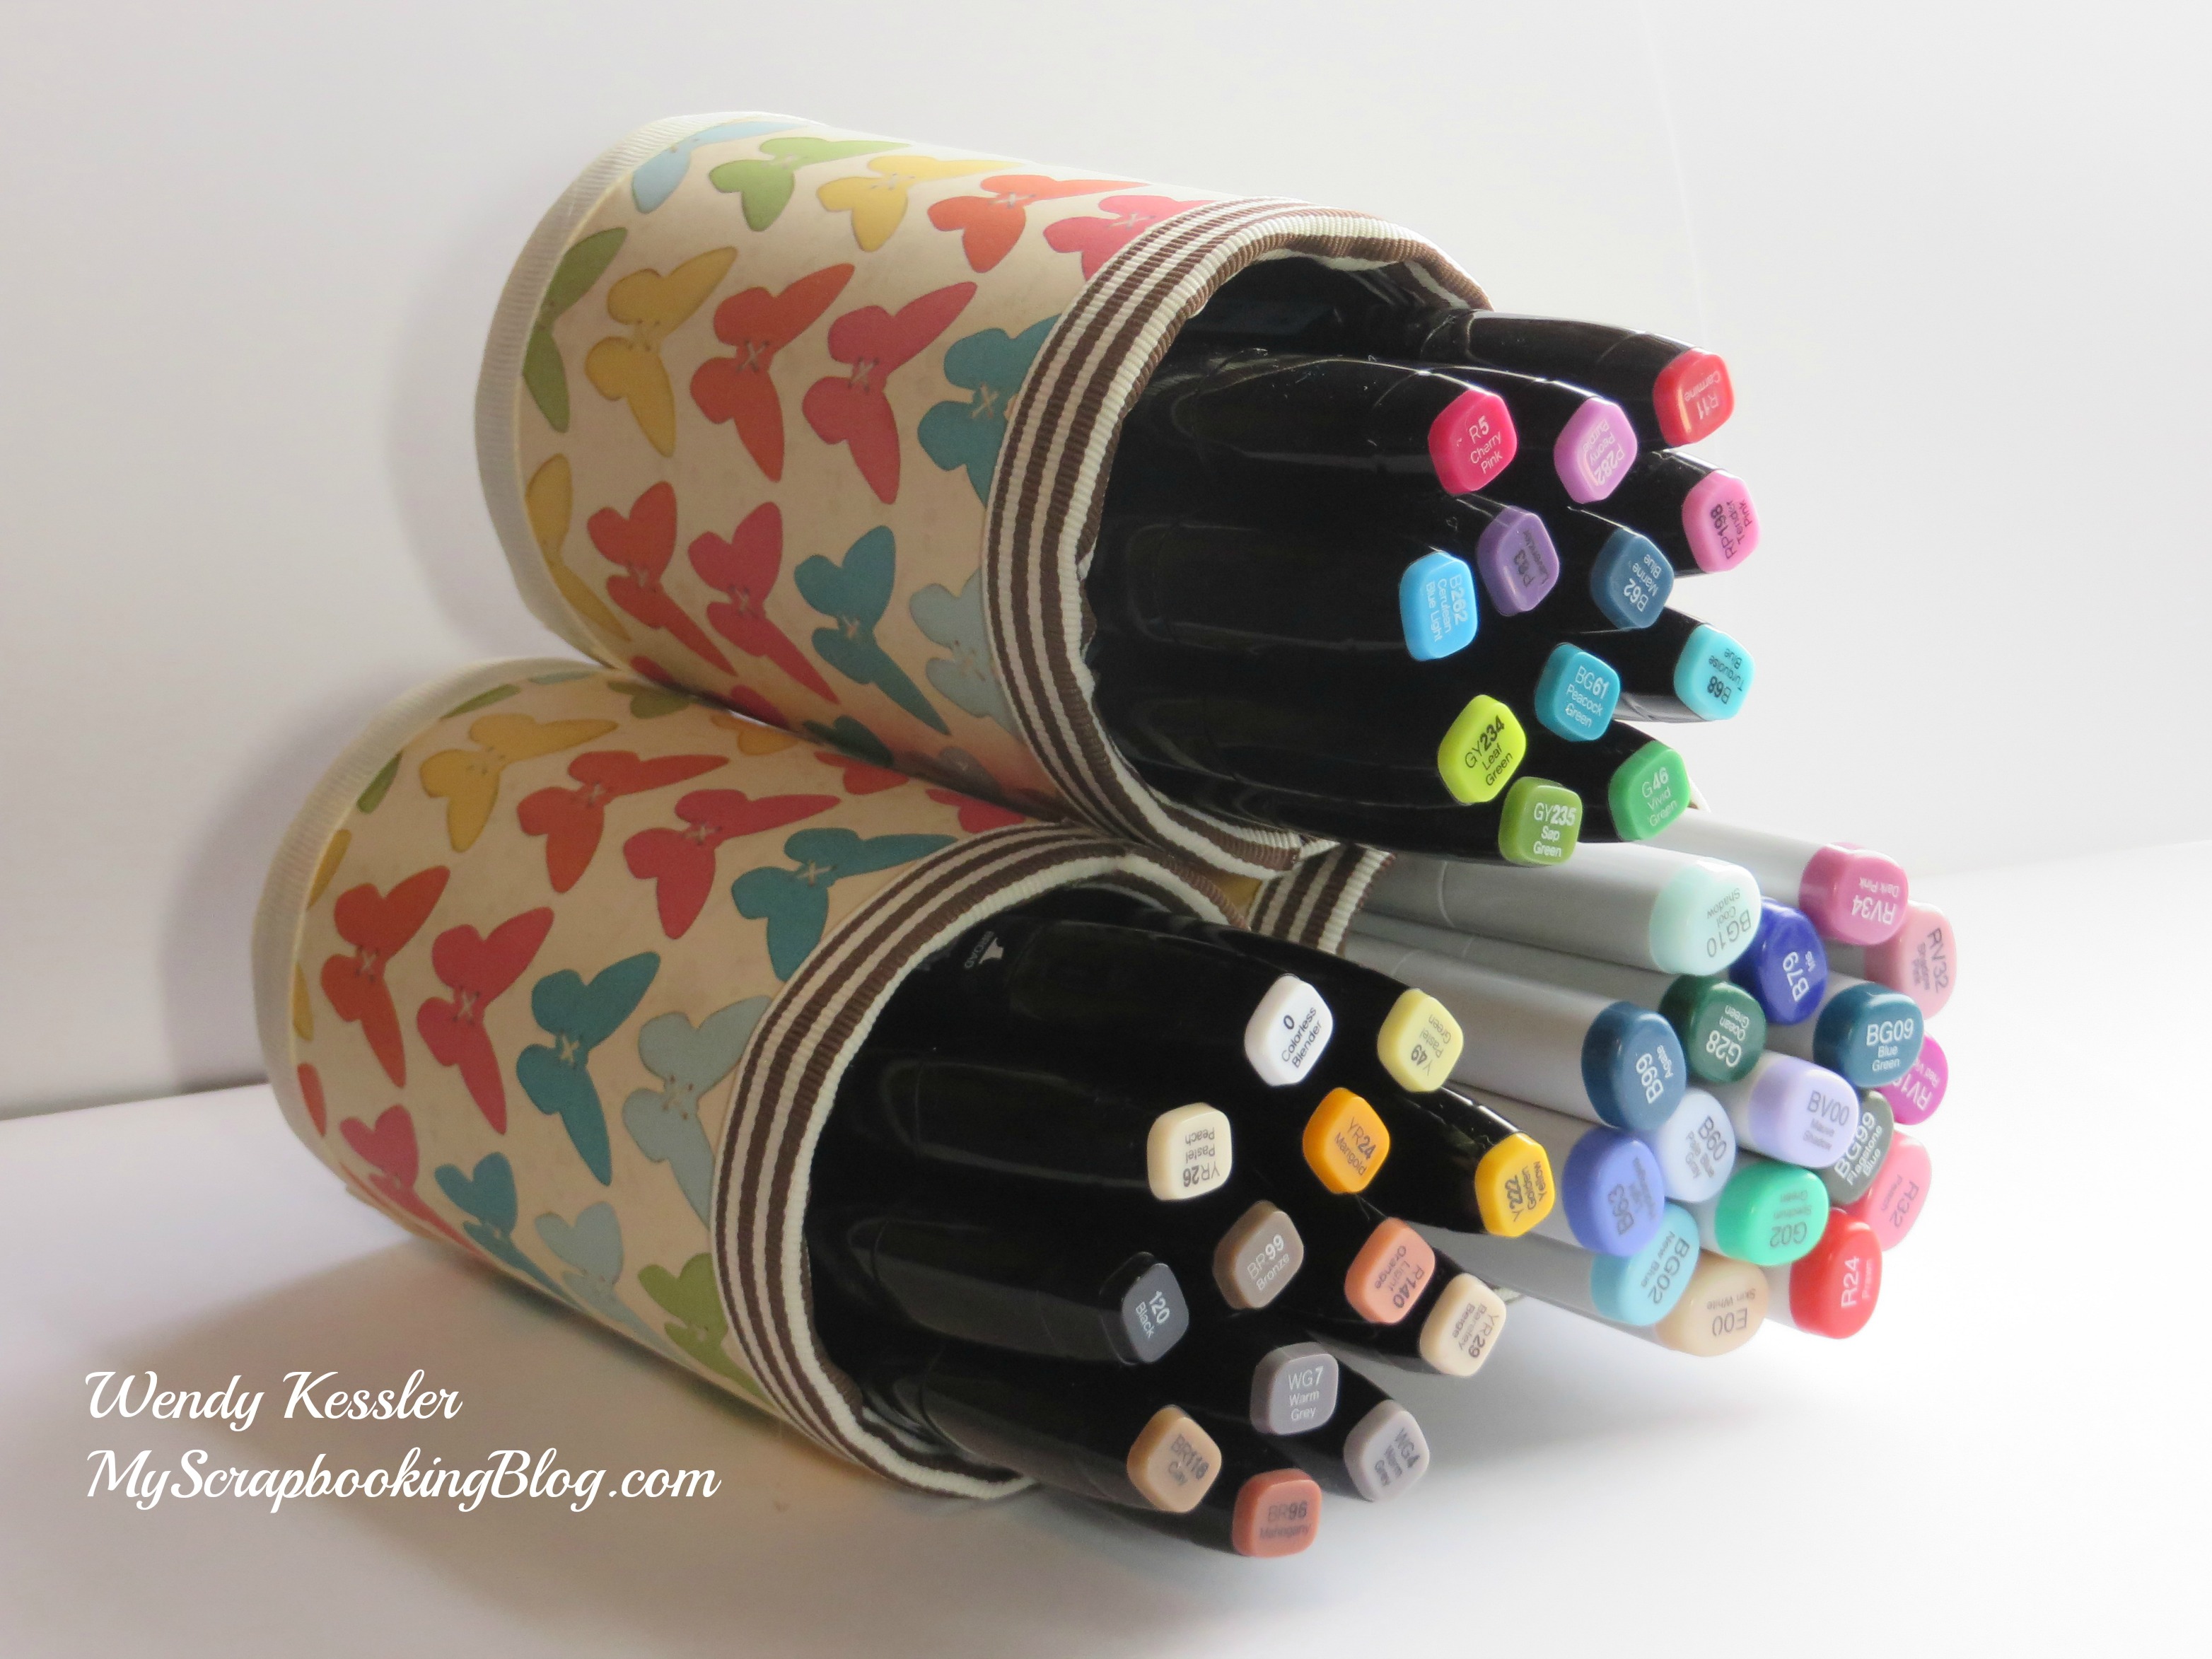
Preventing clogs: As with any adhesive in a bottle there is a chance that the tip can get clogged.  First of all that is easy to fix by poking a pin down the bottle to clear it.  Personally I find this step rather annoying so here are some things that you can do to prevent the clog in the first place.  When you are finished using it, hold upright and let the glue settle to the bottom, then squeeze the bottle a couple times to make sure that air flows through the tip and it is clear of glue.  Another option is to store the bottle upside down (an empty ribbon round container works perfect for this).  I’ve used both of these methods and they both work well.  I’ve heard you can also keep a push pin in the tip but that’s too messy for me.
One thing is certain – I just love this stuff!  I encourage you to give it a try if you haven’t yet.  It is an inexpensive, versatile product and a little goes a long way!
Additional tips:
* Drying time varies depending on how much you use.
* Do not shake the bottle!  Shaking will cause bubbles.
* When applying try to keep a continual flow – avoid starting and stopping which also causes bubbles.
* You can tint your Liquid Glass by mixing with re-inker.
* Liquid Glass may alter the color of some of the CTMH inks so make sure you test your stamped image before applying it to your final project.
* Use Liquid Glass on the ends of your ribbon to prevent fraying.
To see more projects using Liquid Glass click here.
To purchase Liquid Glass online click here.
To continue the blog hop – visit Mary’s Blog!
For a complete list of participants, go to the previous post.
2010 Layout Challenge: #25 & 26 of 210.

Terrific layouts and use of liquid glass!
Love the sparkly title! Very pretty!
I love this technique. thanks
Great Layout and Great Post….thanks so much!
This si such a wonderful post! So educational…thanks for sharing all of your technique tricks. 🙂 Like you, I think every scrapper needs Liquid Glass…I love that stuff!!
Hi Wendy,
Thanks so much for popping into my blog and for taking part in the draw for my blogaversary giveaway.
Love all your scrapbooking – it’s something I can’t get to grips with so love to admire other people’s creations!
Lesley x