National Papercrafting Month: Welcome Home
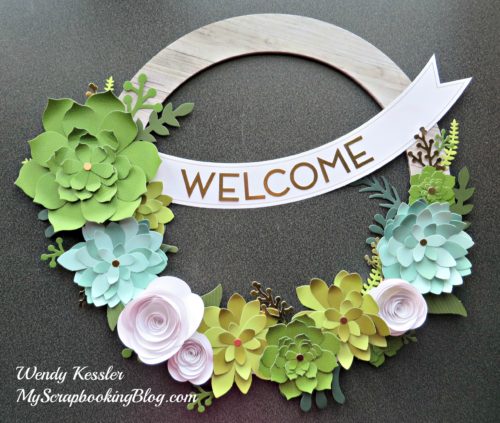
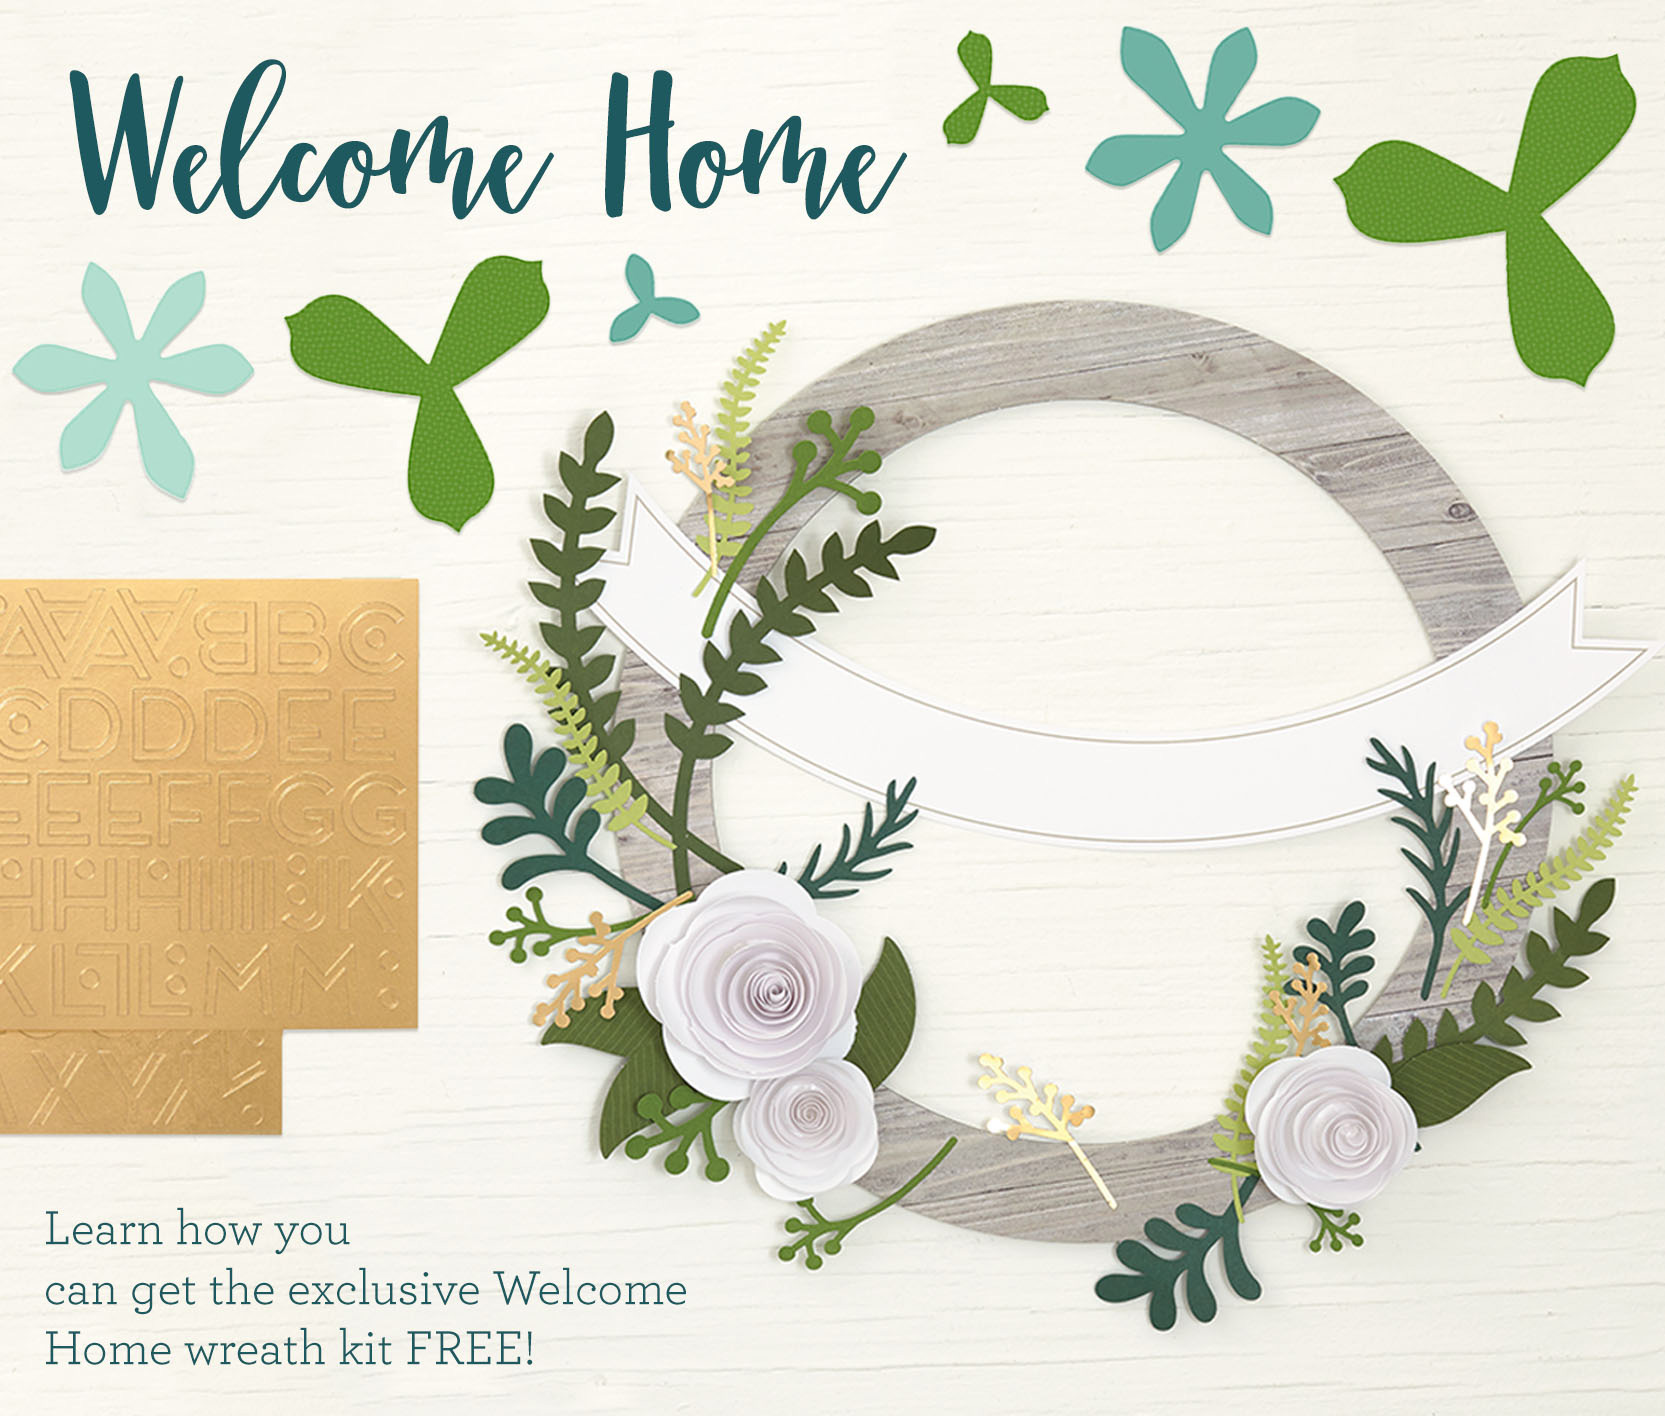
 Every January, we celebrate National Papercrafting Month as a way of acknowledging the pure joy of playing with paper! We scrapbook with it, we make cards with it, we decorate with itâ€â€in short, we craft with it! This January, we are celebrating the joys of paper-crafted home décor with this beautiful Welcome Home wreath kit. The kit comes with pre-cut pieces you can simply pop out and attach to the sturdy chipboard wreath base, making a welcoming décor piece for your home. Here are all the ways you can get the wreath kit:  (1) Purchase the Welcome Home wreath kit outright for $18.95 with no qualifying purchase, OR earn it FREE with a qualifying $60 purchase or (2) Earn a FREE Welcome Home wreath kit when you host a Gathering that reaches the second level of Hostess Rewards.
I hung my finished wreath on my scrapbook room door. (Note: I only had enough P’s because I had 2 kits.) The second one I used the word Welcome and it will most likely be a gift.

Tips:
* Take your time punching out the pieces, especially the stems so they don’t rip.  You won’t have any trouble as long as you don’t get in a hurry.  If something does rip, it’s easy enough to still make it work.
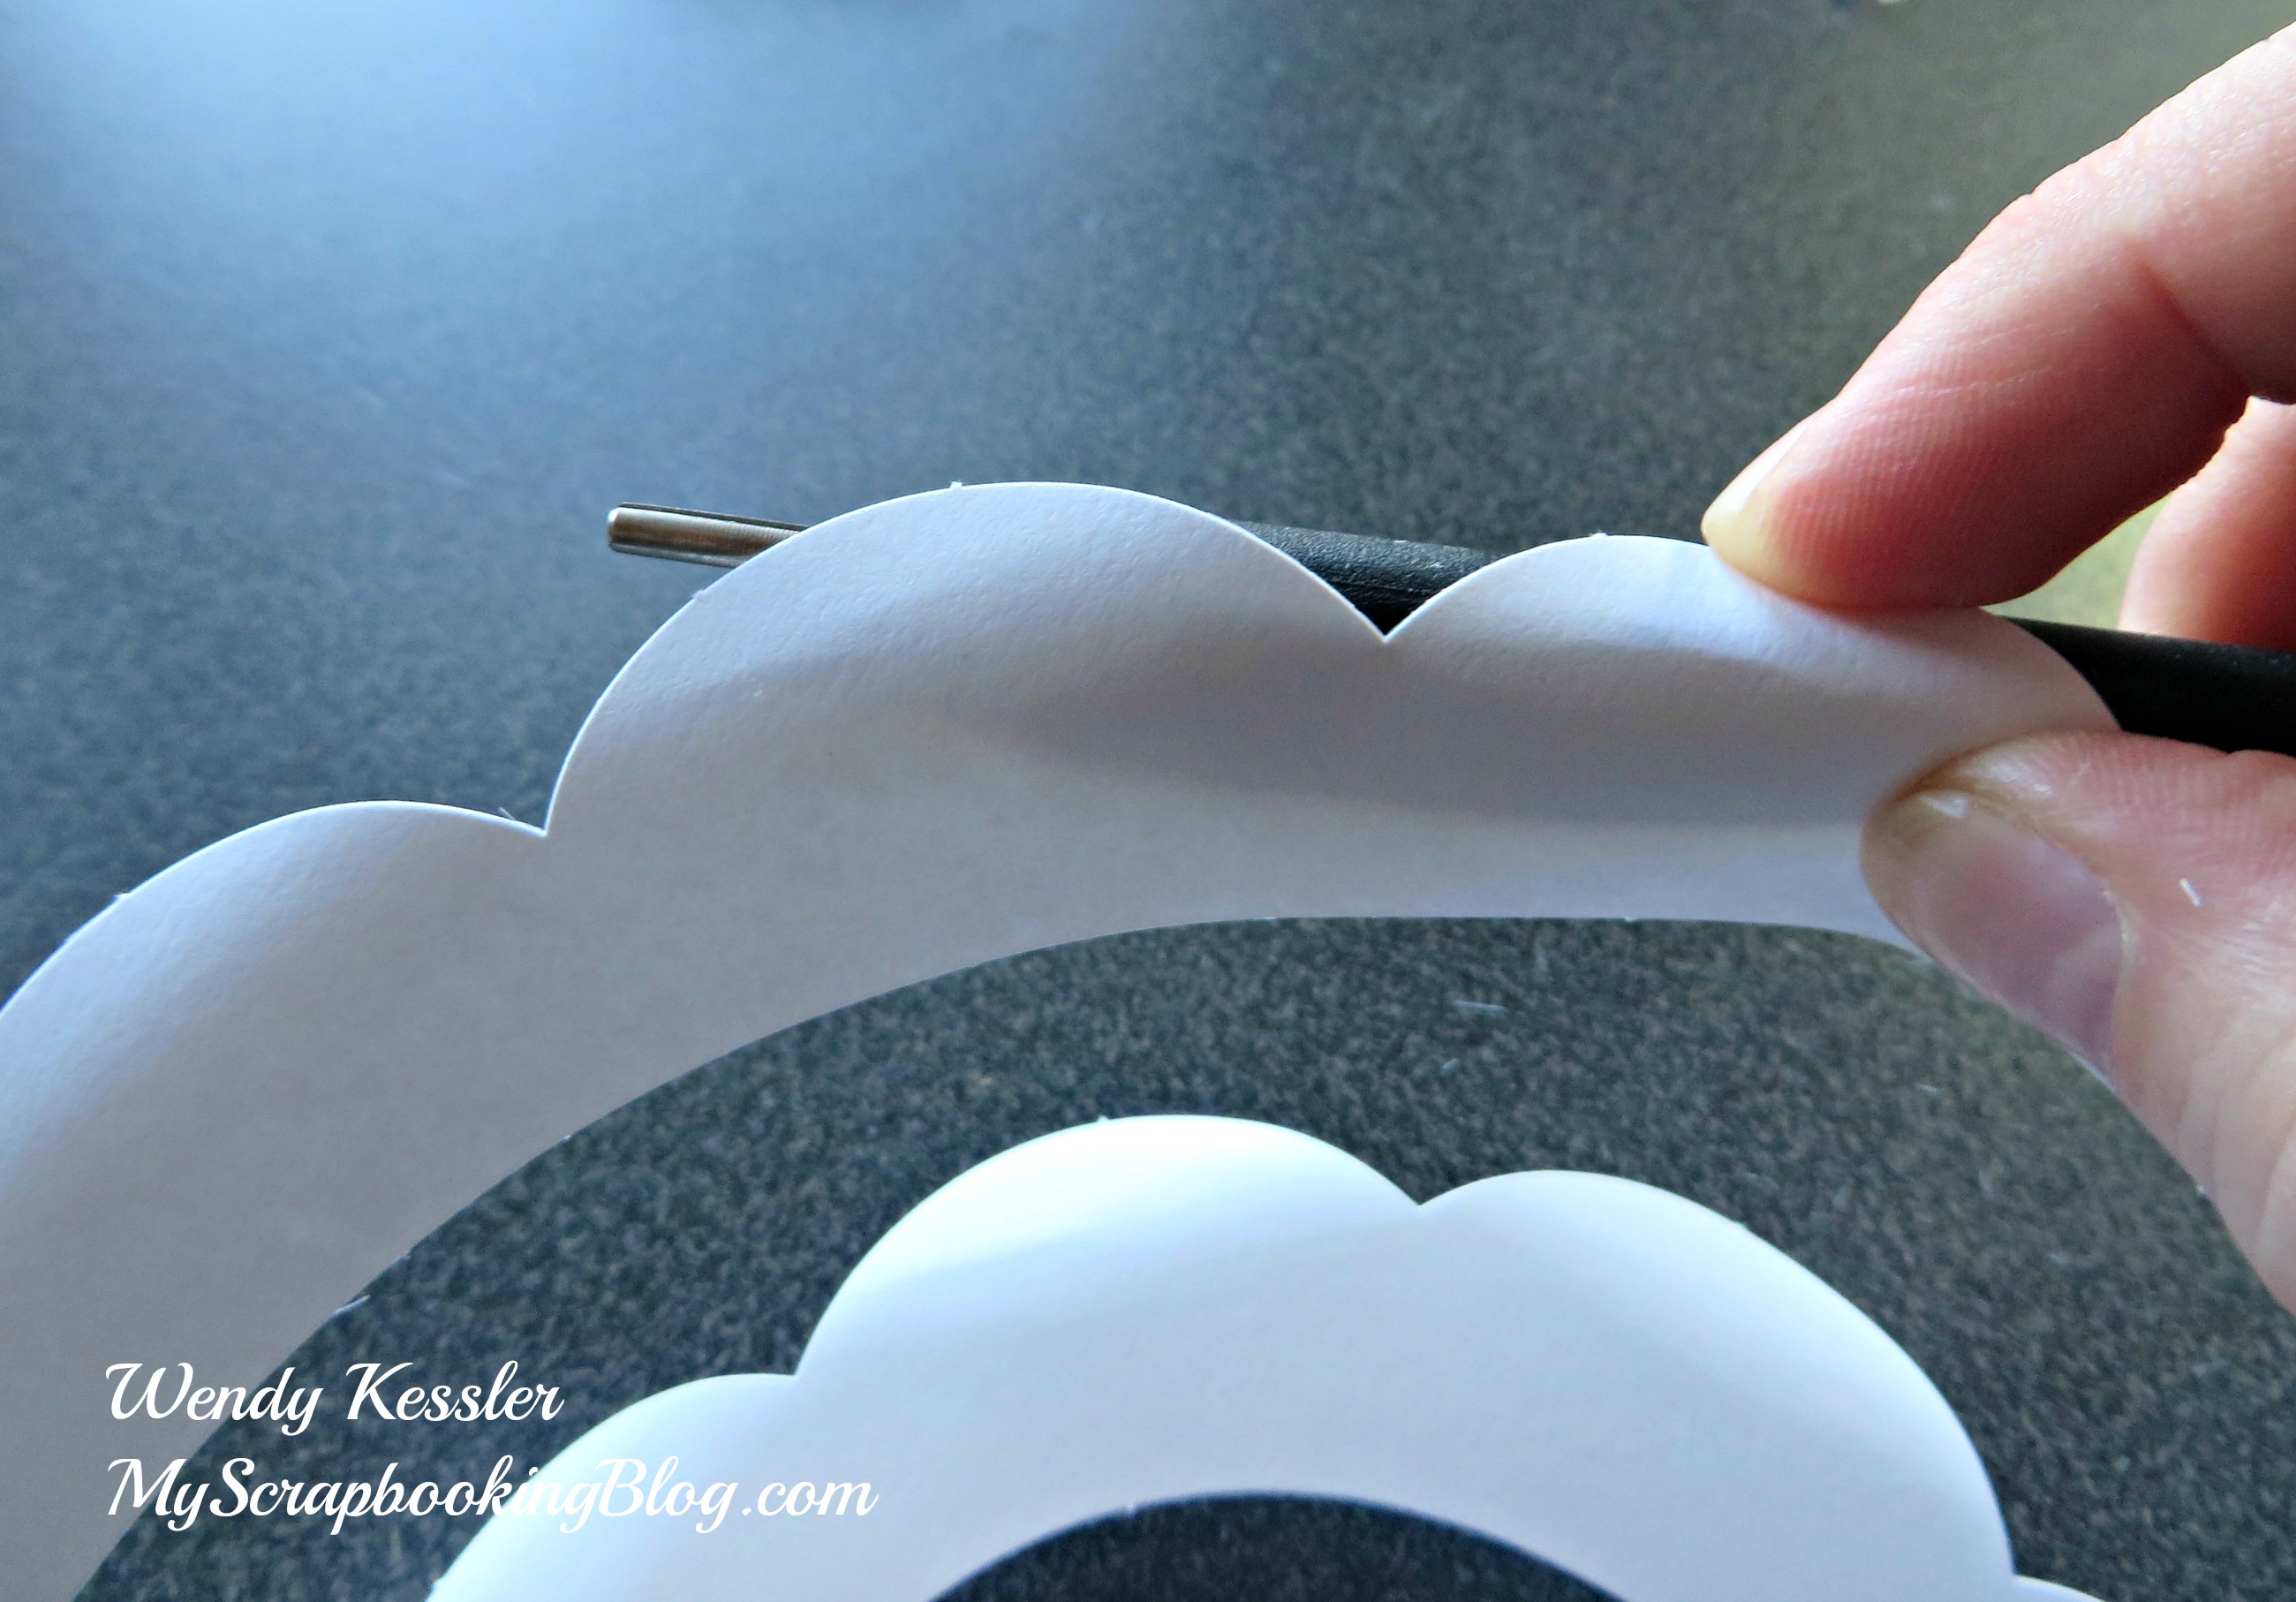
* I highly recommend a Quilling Tool for this project.  It works so well for holding/curling/folding the paper to create flowers and you can use it over and over when making other flowers included in our Cricut Collections.
* I also used Glue Dots instead of Liquid Glass for the white flowers.  It’s a more expensive option but you don’t have to wait and hold each flower to dry.  You could also use a variety of craft, mini, and micro sizes for the other flowers but since these can lay flat to dry I liked the Liquid Glass.  If you use Glue Dots, it will add a bit more dimension between the layers.
*I punched out all the pieces first and put each succulent in it’s own pile from largest to smallest.  If you have the Versamat or something similar, you can use this and move the project around as needed.
* When I make flowers like the white ones, I like to curl the petals before rolling the flower.  For the rest of the flowers, I also curled the petals before gluing them together and used the handle of the quilling tool (or a pencil would also work) instead of the tip.
* I’d only place the larger leaves on the base first, then I’d put the flowers on or at least temporarily so you have a better idea how things will lay.  I thought the flowers were a bit crowded when I followed the given instructions and I covered up some of the vines (I removed them and reattached to my liking.)
Here’s my second wreath: