CTMH Video: Alcohol Marker Madness
Alcohol Marker Madness features coloring stamp images with alcohol-based markers for a smooth, vibrant look. A1124 A Tree Stamp Set $6.95 Z670 Black Embossing Powder$3.95 1764 Craft Tray clearance now for just…
Alcohol Marker Madness features coloring stamp images with alcohol-based markers for a smooth, vibrant look. A1124 A Tree Stamp Set $6.95 Z670 Black Embossing Powder$3.95 1764 Craft Tray clearance now for just…
Welcome to our Technique Blog Hop! This month we are highlighting the Technique as shown on page 55 in the Autumn/Winter 2012 Idea Book and expanding it to include all coloring techniques! This blog hop is a circle…
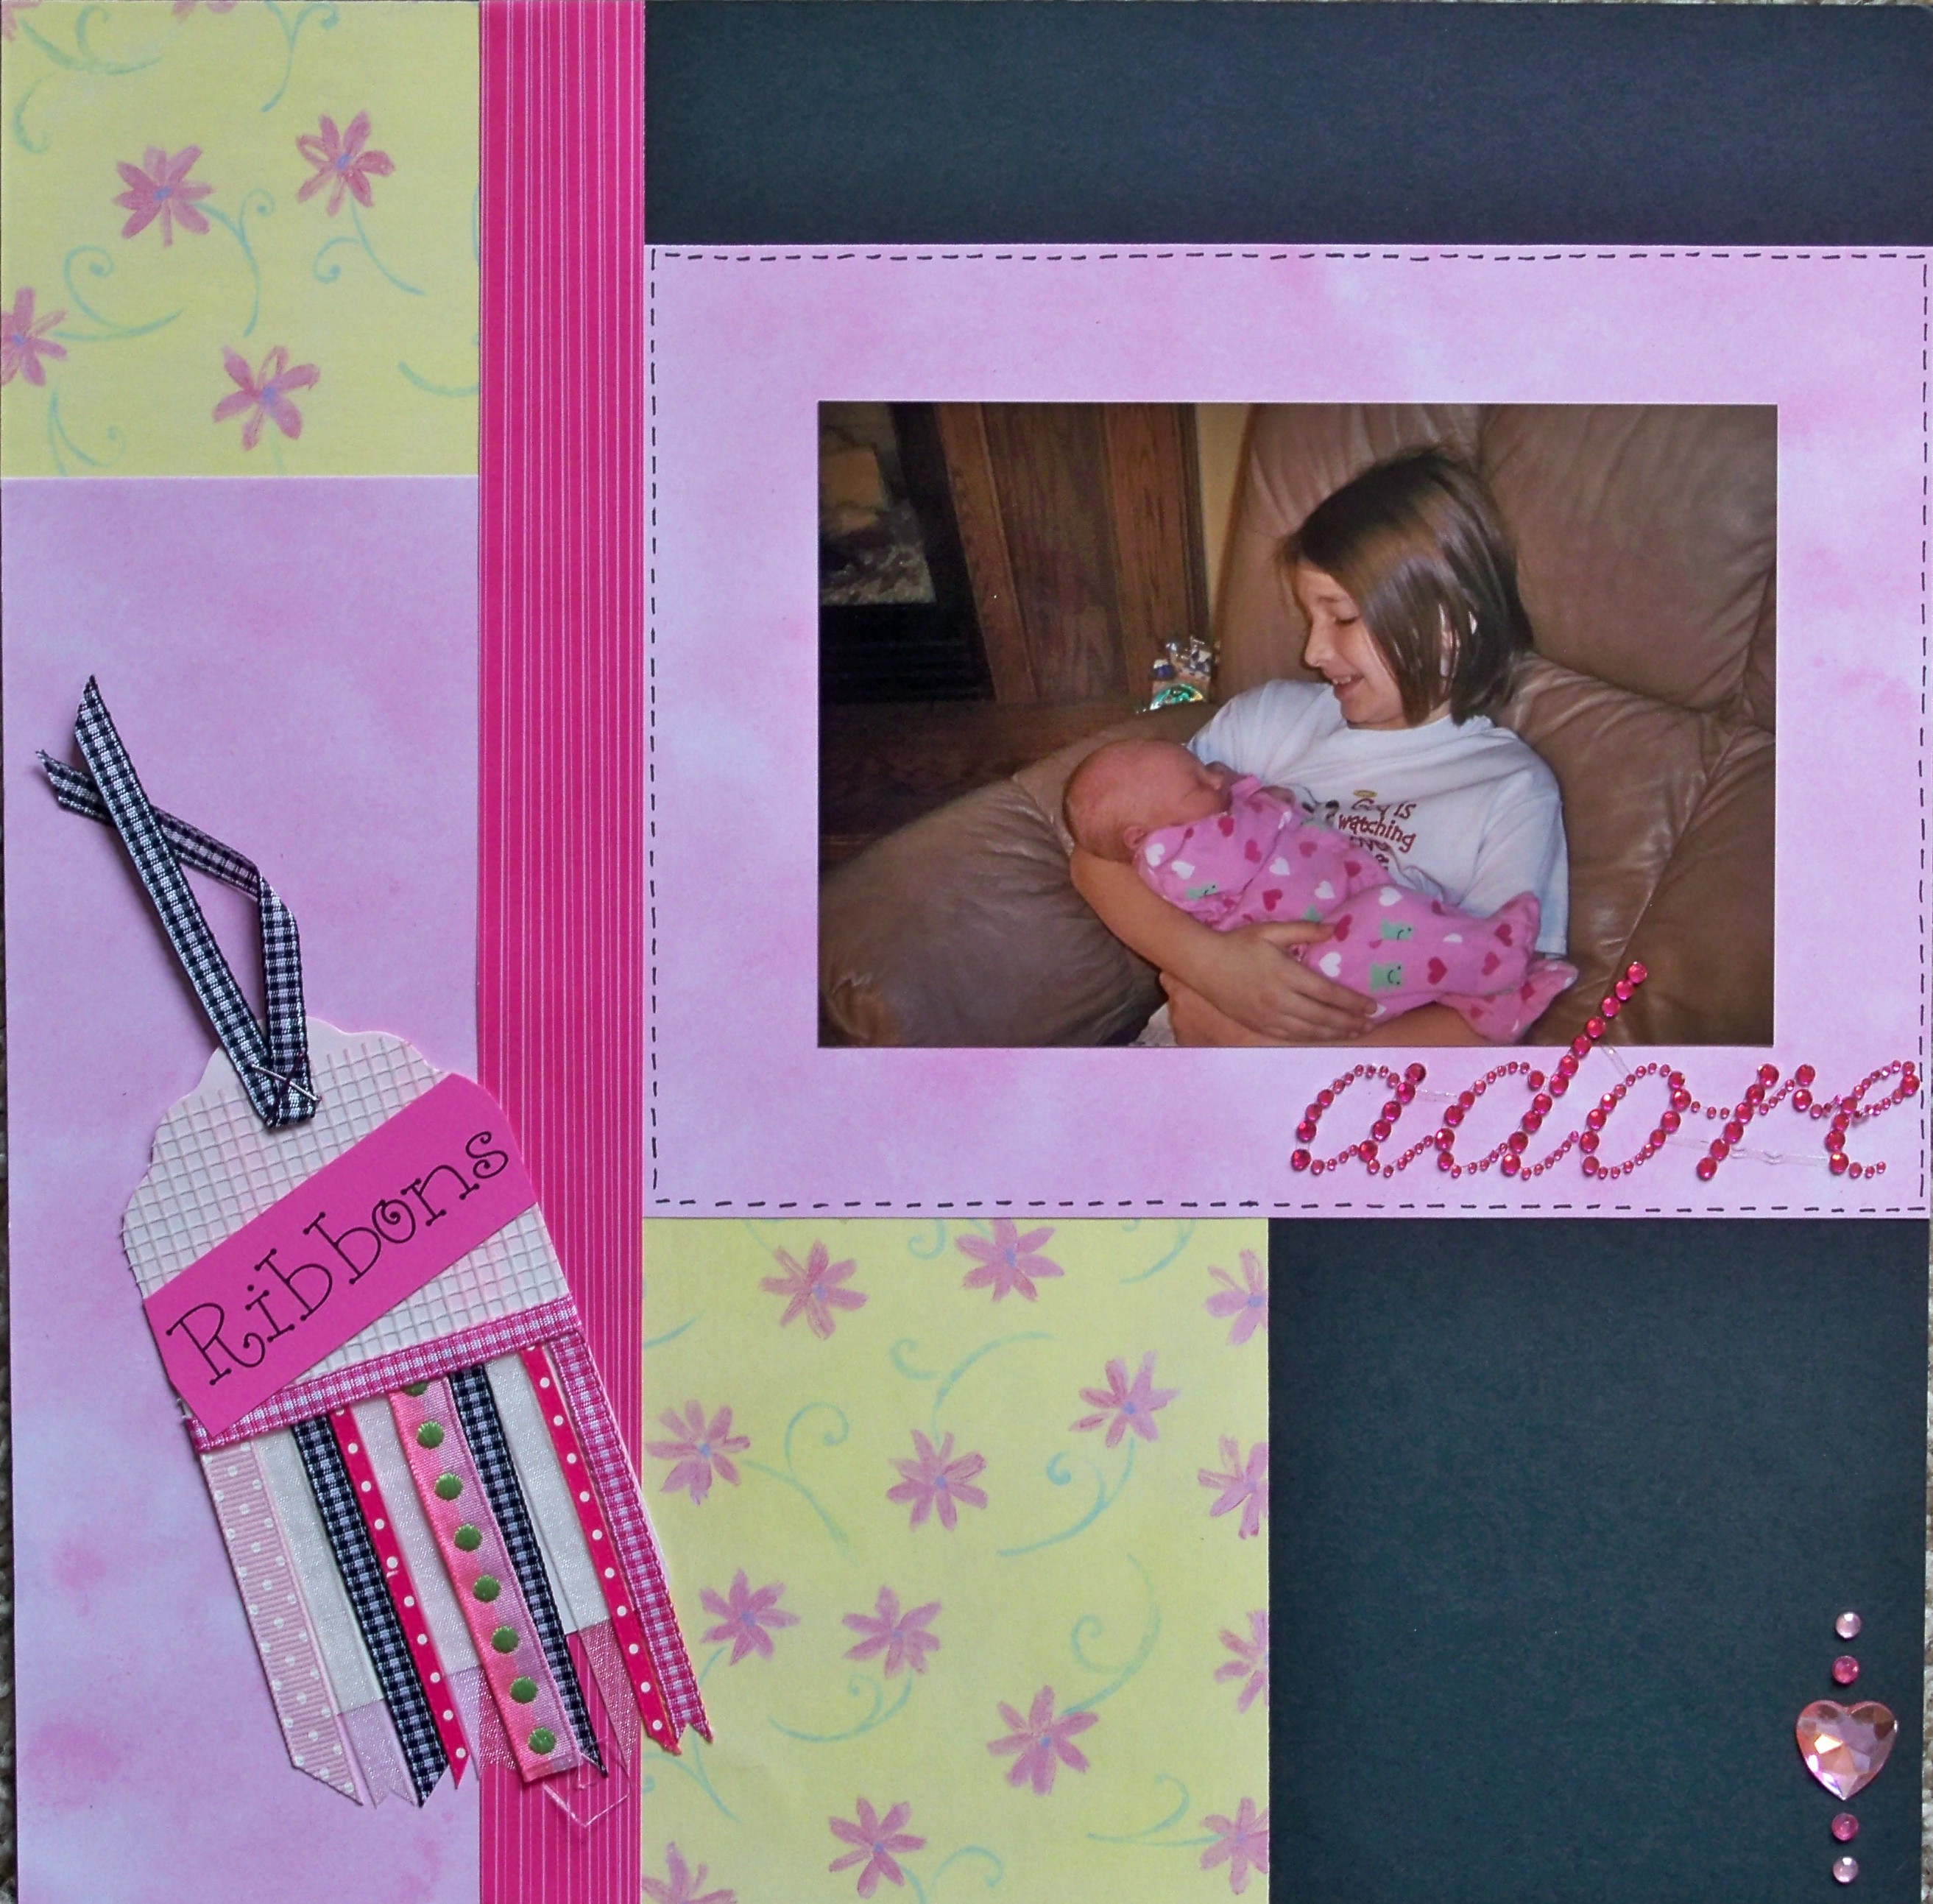
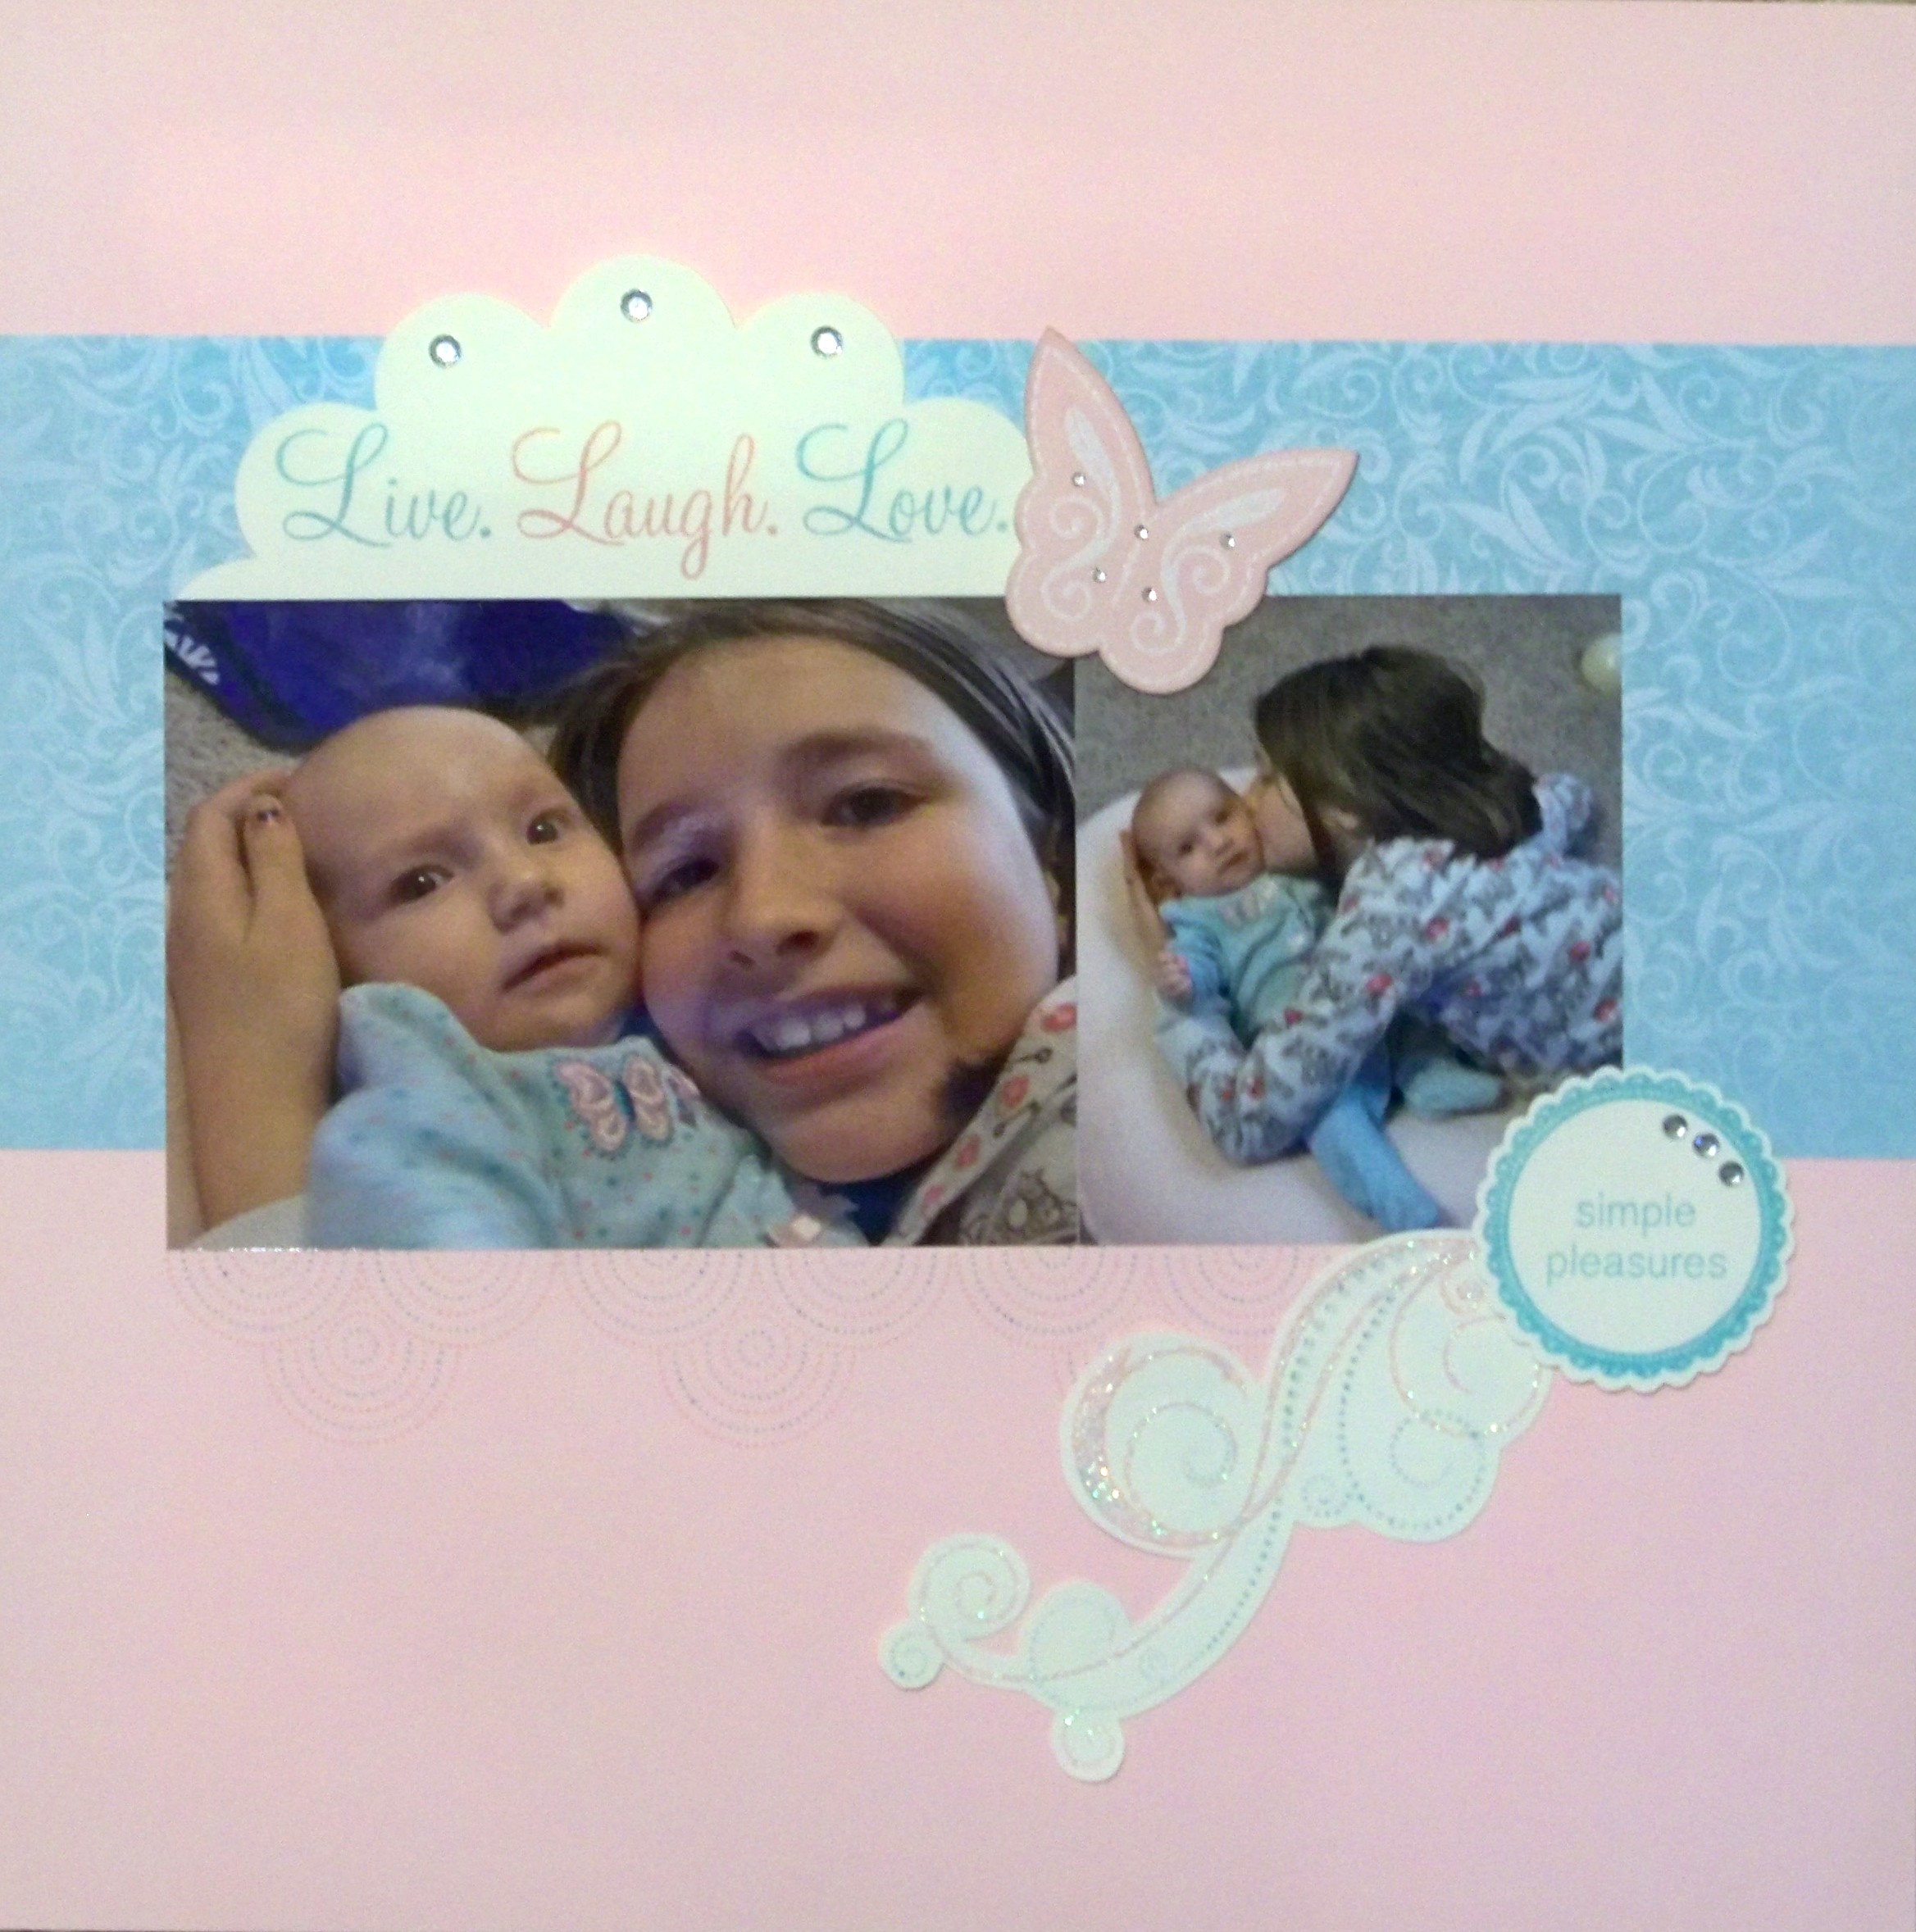
I pulled this out of my almost-finished layouts pile and added the Kaiser rhinestone title and the Best Occasions rhinestones in the corner.
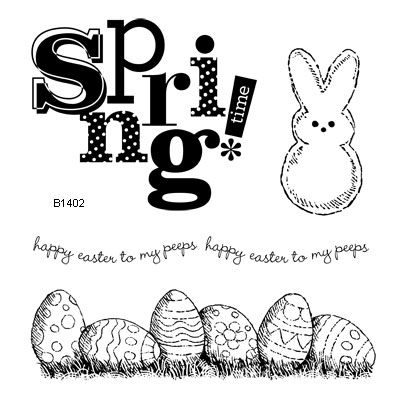
B1402 My Peeps Supplies used are CTMH unless otherwise noted: Lucy Paper Packet, My Peeps stamp set, Sweet Leaf Stitched Grosgrain Ribbon, Sky/Outdoor Denim/Petal inks, Sweet Leaf/Cotton Candy/Sky/Petal/Creme Brulee Markers, and Kaiser…
Welcome to our Technique Blog Hop! This month there are 13 of us highlighting Multicolor Motifs as shown on page 110 in the 2011 Autumn/Winter Idea Book!  This technique is when you use your…