CTMH June SOTM Blog Hop!!
Welcome to our Stamp of the Month Blog Hop! We will be featuring June’s SOTM, which is called Tender Tags, a set of 15 stamps. This month we have 42 Close To My…
Welcome to our Stamp of the Month Blog Hop! We will be featuring June’s SOTM, which is called Tender Tags, a set of 15 stamps. This month we have 42 Close To My…
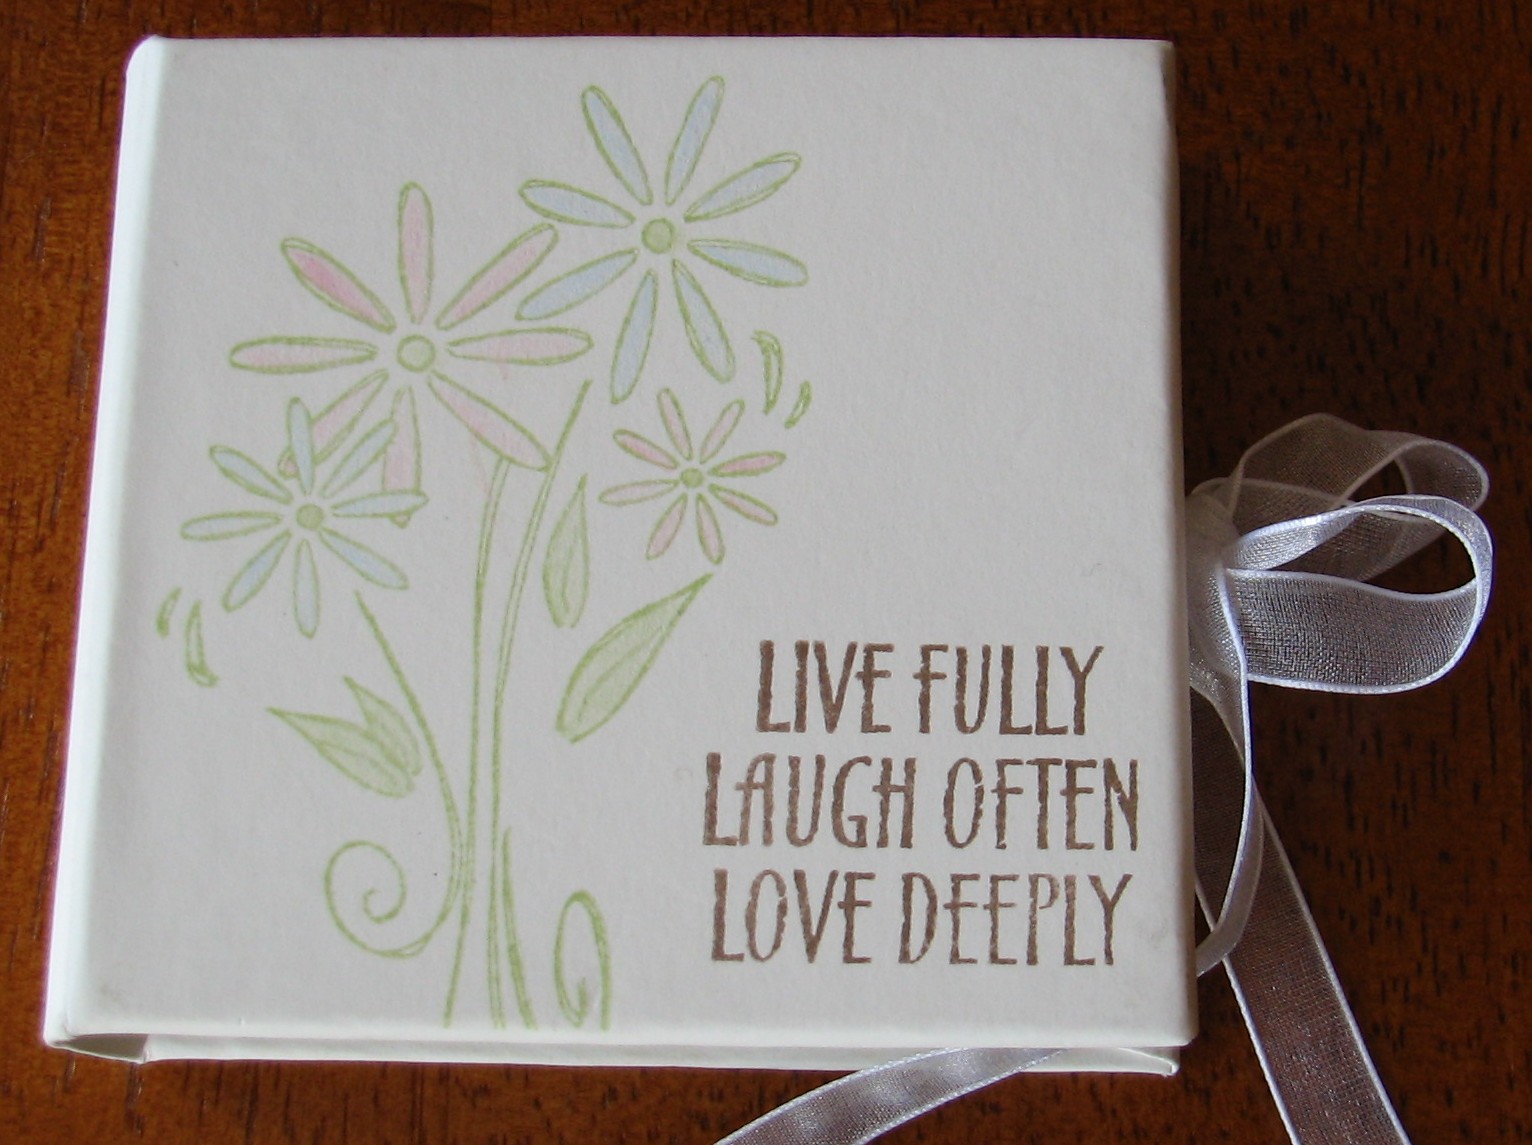
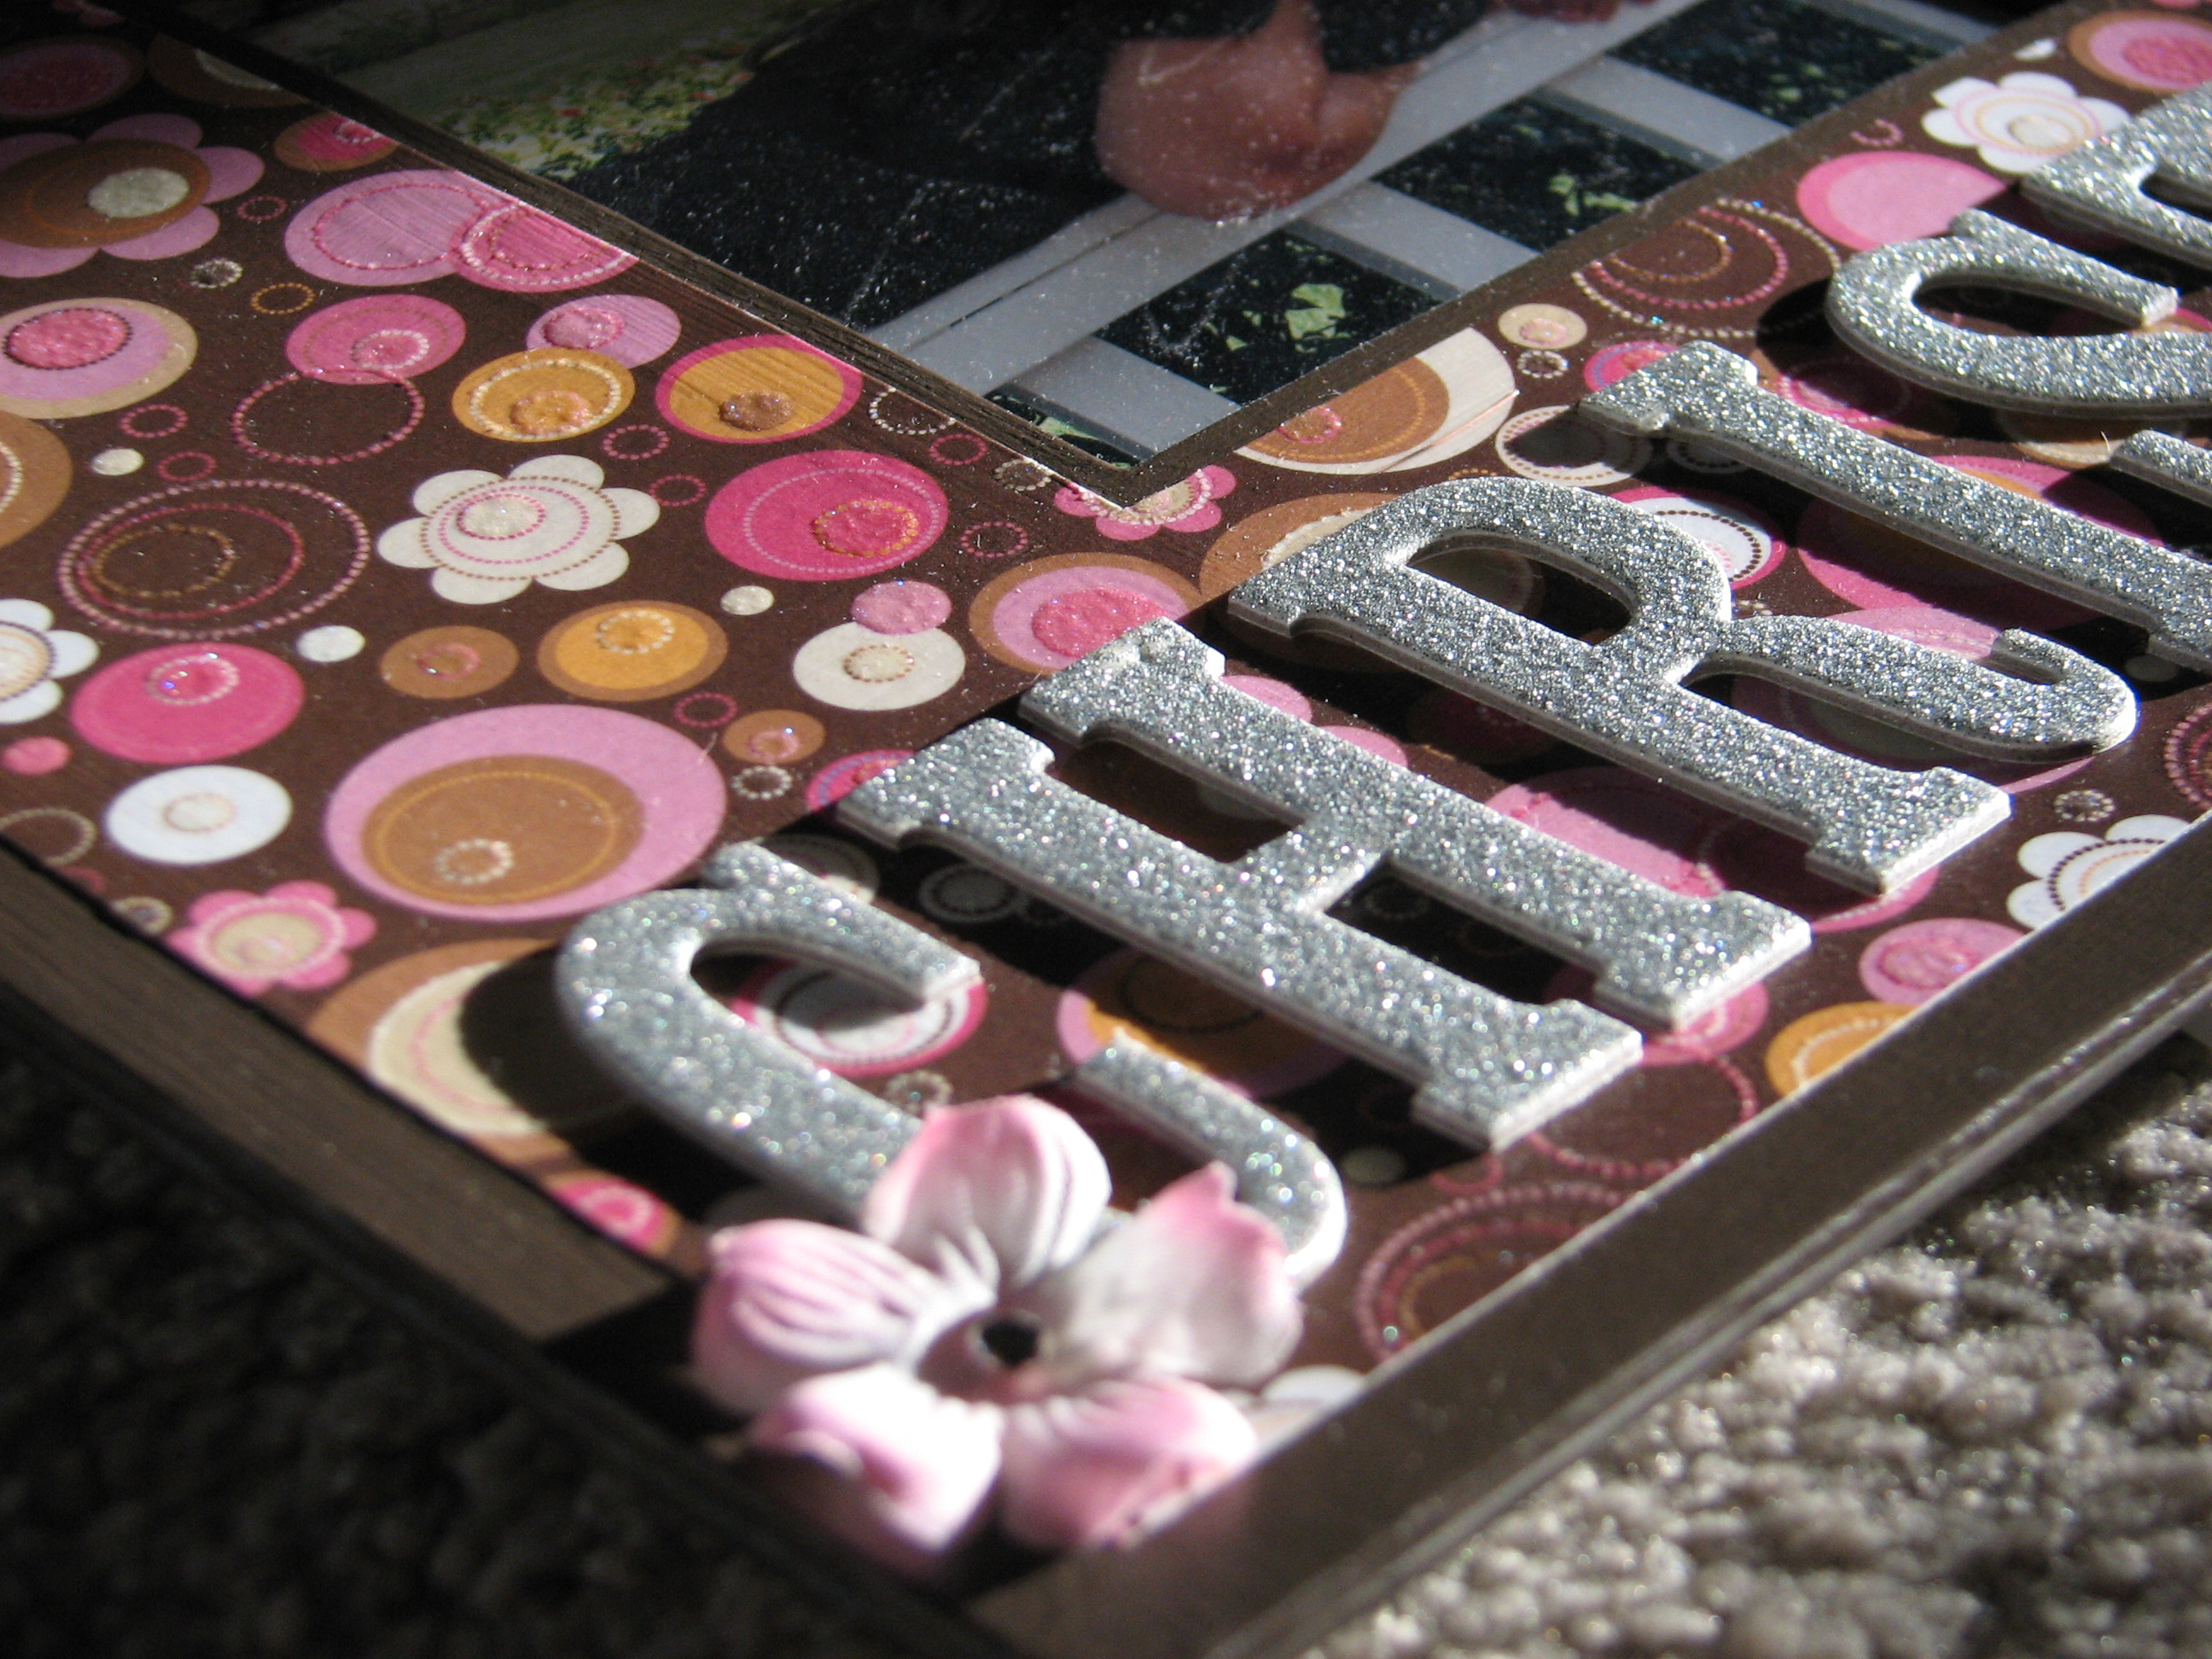
I have lots of pics so this may take a bit to load… All supplies are CTMH: – 3×3 Mini Album (cream with organdy) – Paper: Life Delights and Colonial White cardstock…
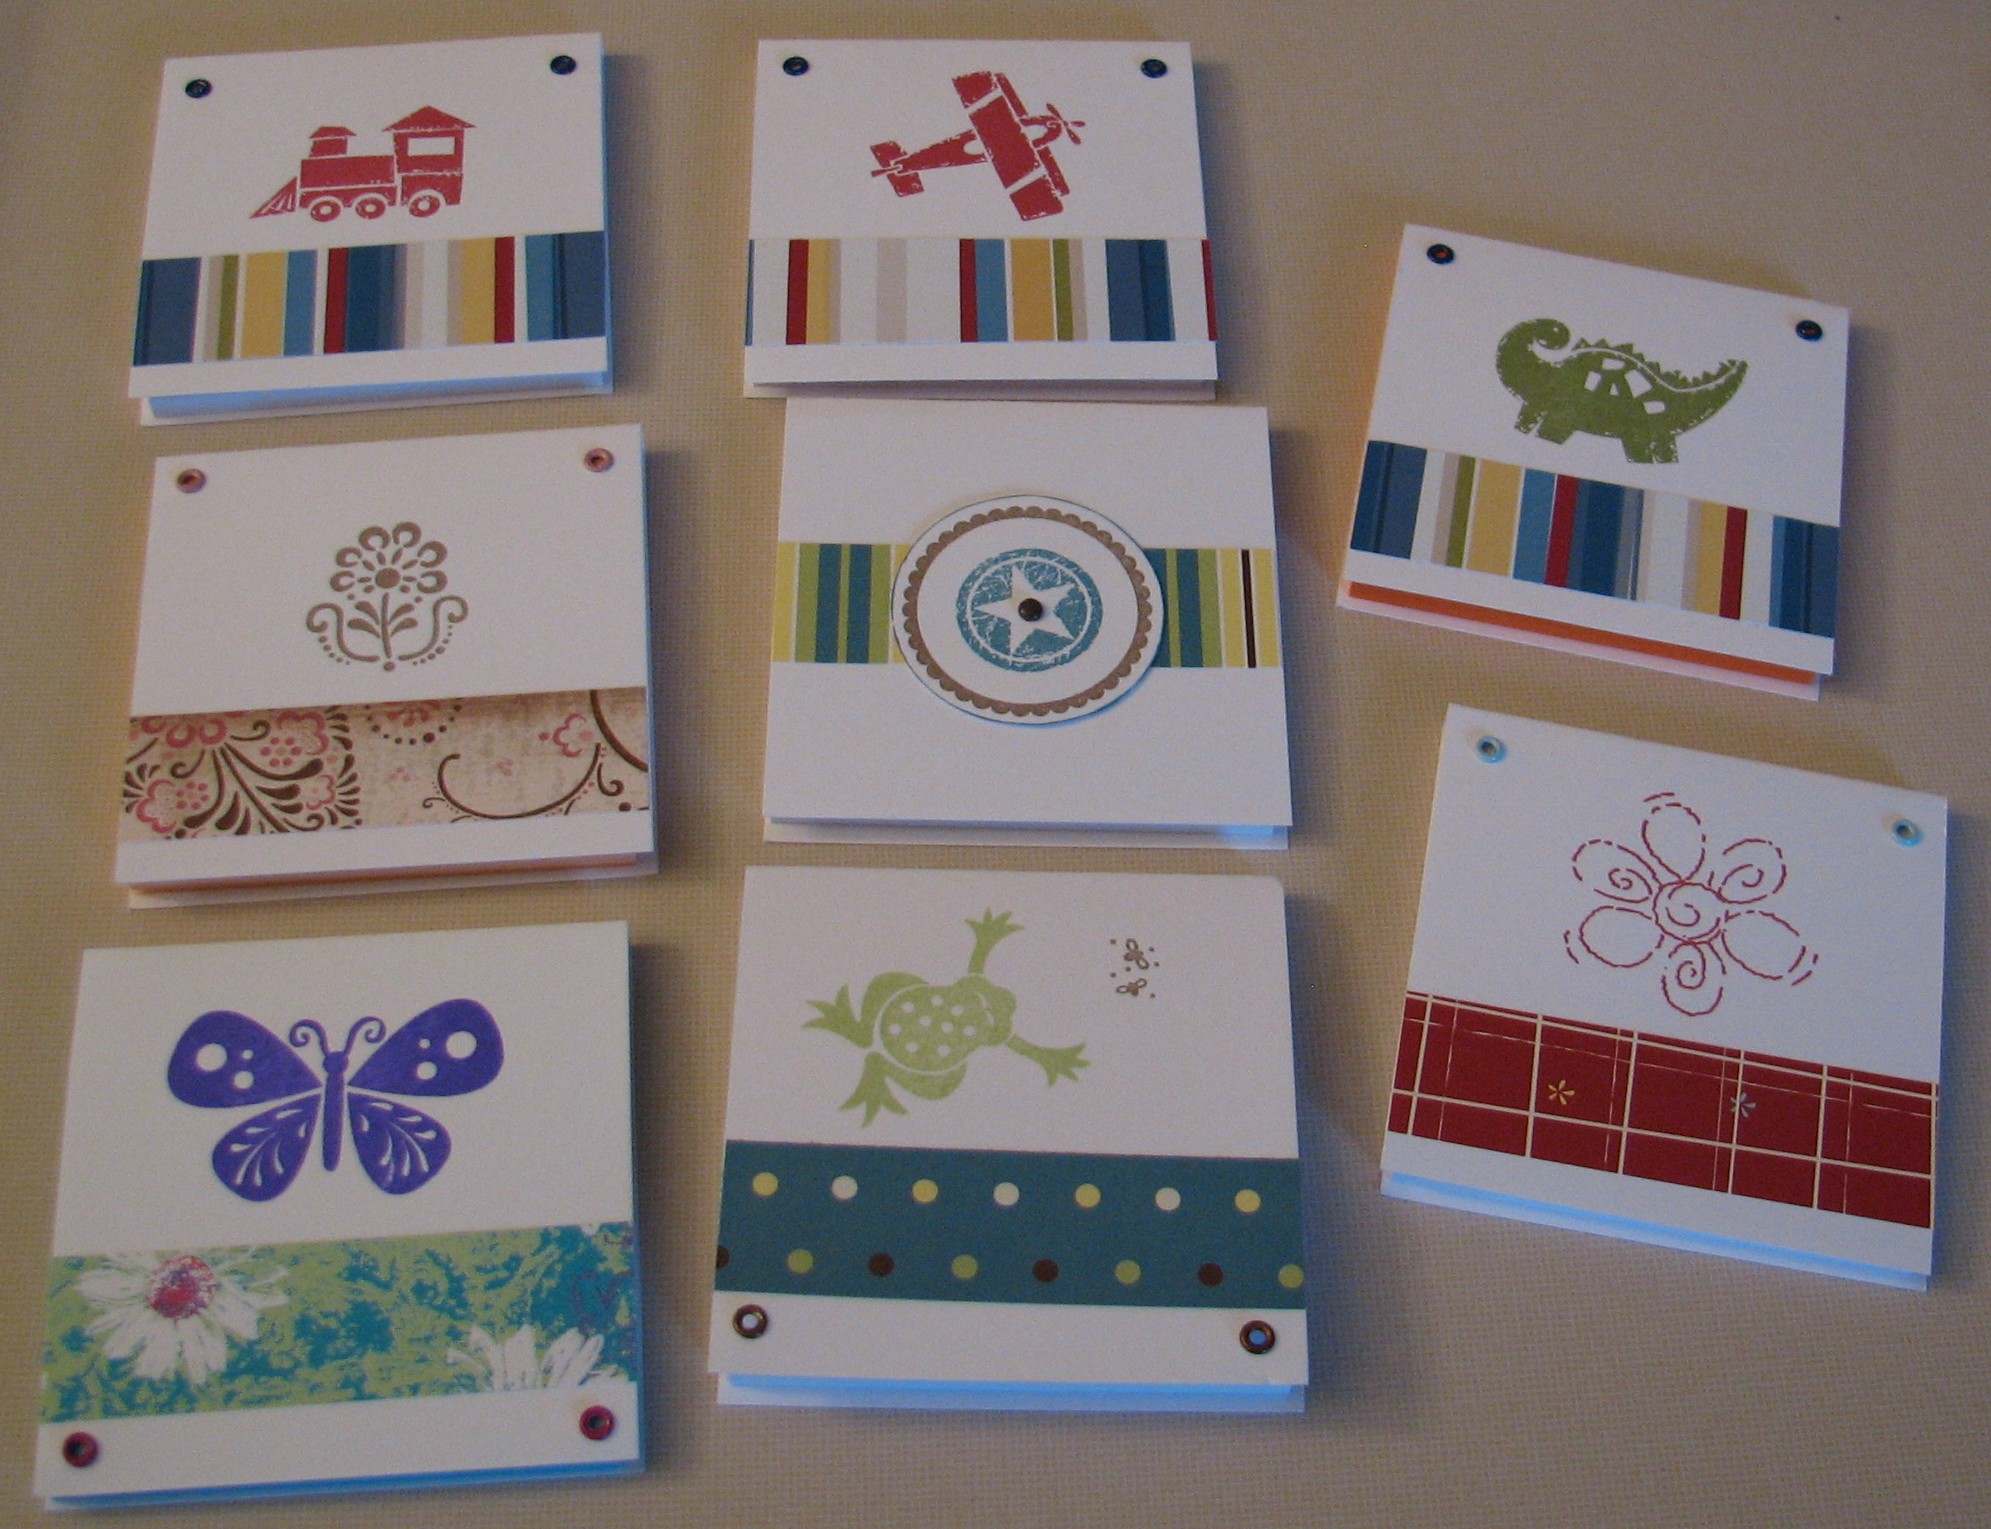
These notepads were fun and easy to make, and also inexpensive. My kids have used them for party favors and in place of birthday treats at school. The kids love them! Directions:…
I absolutely love how these frames turned out and they are just what I wanted to display in my scrapbook room. I made one for each of my daughter’s with some of…
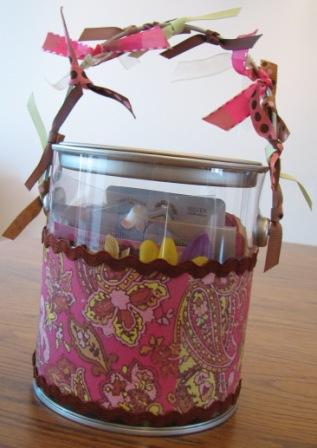
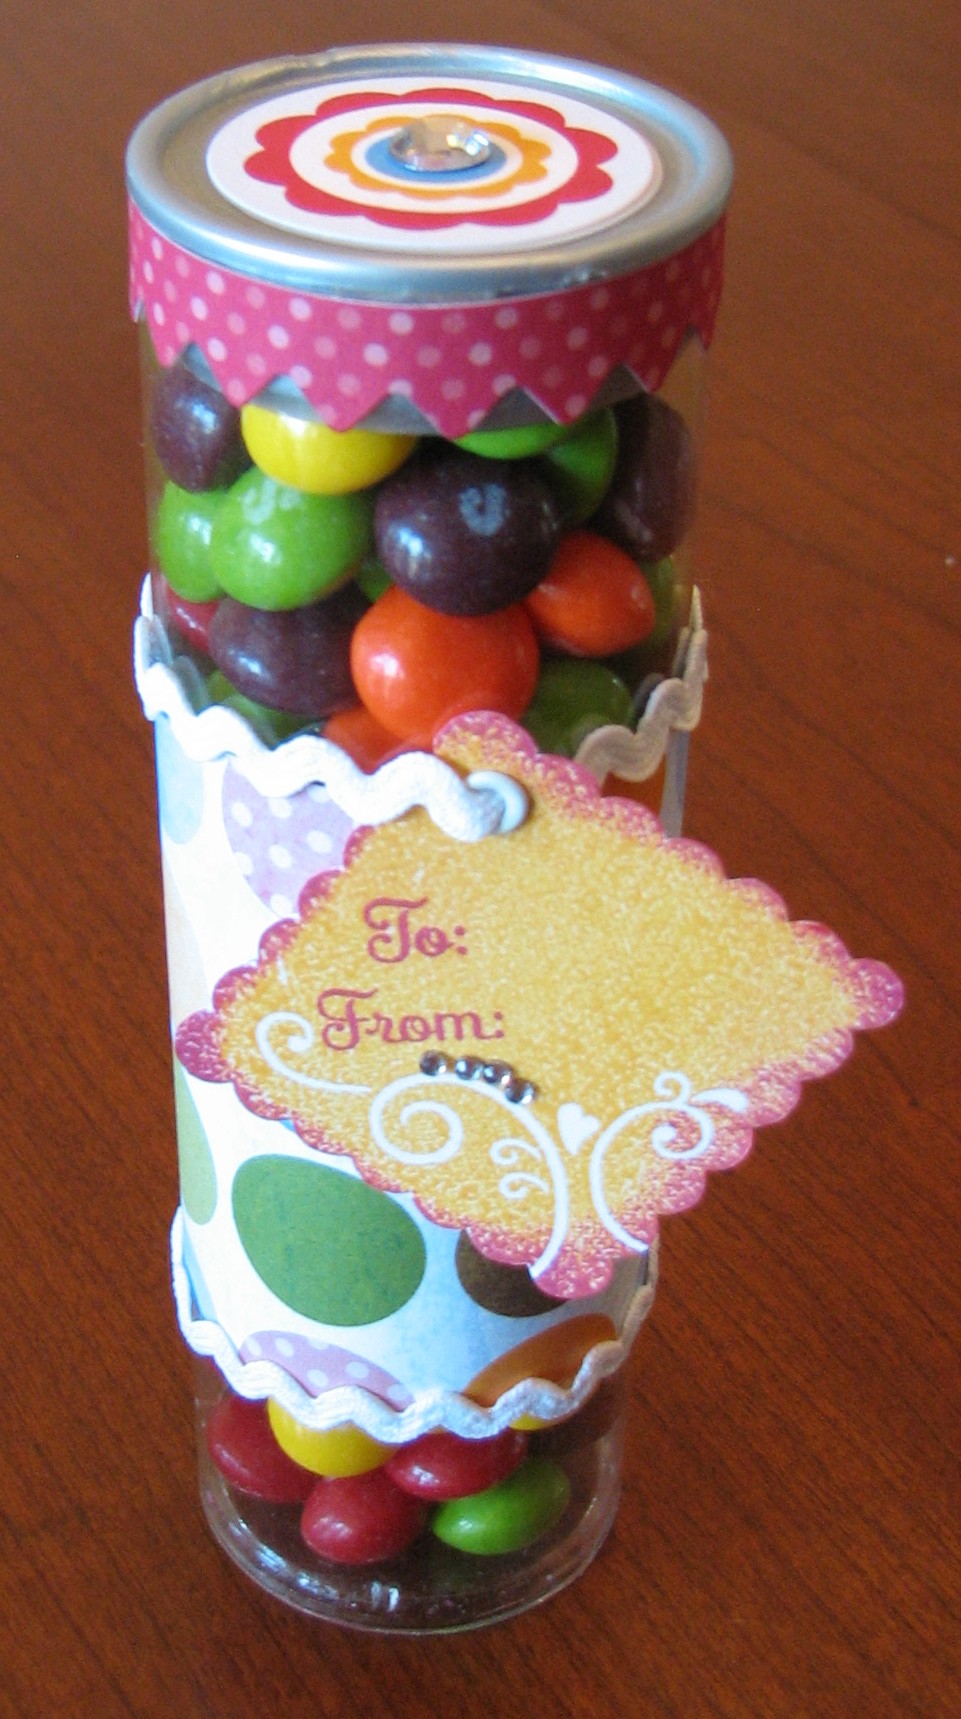
Paint cans are lots of fun to alter. They can hold a wide variety of items and are great for gifts. They can be purchased at your local hardware store or at…