CTMH 2013 Spring/Summer New Product Blog Hop

Welcome to the 2013 Spring/Summer New Product Blog Hop where you will get a great view of many of the new things that have recently been released from Close to My Heart.  Not only will you see the new product but you will be inspired with a variety of ways to use it!

The hop is a circle so if you are starting here, just continue until you make your way back.  If you have already started, you should be coming from Heather’s Blog.

The product I chose to feature today is the My Creations 6×6 Canvas Display.  It is a 6×6 canvas sheet mounted on a wood frame and has a sawtooth hanger.  I challenged myself with this project because I have never worked with canvas before.  At only $4.95, this is an inexpensive project to make for yourself or as a gift.

Canvas Art by Wendy Kessler

Supplies used: 6×6 My Creations Canvas Display, D1506 Family Love stamp set, C1503 The Best Things stamp set, Indian Corn Blue pigment ink, Black Pigment Ink, Color-Ready Trinkets Wooden Shapes, Ruby Pigment Ink, Smokey Plum Pigment Ink, Flutter Paper Shapes, Clear Sparkles, Bitty Sparkles, Black & Grey Sparkles Assortment, For Always Textiles.  I also added a pin from the Bling Assortment which is retired.  I just couldn’t resist but it could easily be left off or add one from the For Always Assortment.

Things I learned from this project:
* I put an acrylic block under the canvas when I stamped so I’d have a solid surface.
* If stamping, use images that are forgiving (not small words).  I figured this but had to try it and see.  The flourishes stamped pretty good but there seemed to be an area around the wood that I just wasn’t able to press the image enough to get it to stamp onto the canvas.  I covered this up on the right corner with the butterfly.  You could still use words like I did but stamp them first to cardstock so you have a nice clean, crisp image, then attach to the canvas.
* I used Liquid Glass as my adhesive.  The fabric is thin so if you use a liquid adhesive, do so sparingly.
* I used pigment ink for the entire project.  It dried well on the canvas, probably because it could soak in.  I was lazy and left the wooden pieces overnight to dry but they didn’t.  Even heat setting them took longer than normal.  So just be aware of this.  You could use the dye inks for the wooden pieces however I wanted the bright, vibrant colors that the pigment inks provide.

Now hop on over to Beth’s Blog to see her wonderful creation!

Here is a list of all the blogs in the hop:

Helen Onulak
Kathleen Androlewicz
Lucy Kelleher
Maria Myers
Joy McHargue
Maureen OSullivan
Jen Patrick
Traci Pasqualone
Melissa Robinson
Priscilla Gotham
Judy Faye Garner
Haley Dyer
Heather Schmuckal
Wendy Kessler   <-- You are here.
Beth Naumann
Allisa Chilton
Pamela Ellison
Jody Gustafson
Terry Ann Diack
Tamytha Jenkins
Georgia Hauglid
Krista Hershberger
Dawn Ross
Wendy Coffman
Laurie Newton
Traci Godbee
Elizabeth Mindemannn
Mary Eisen
Melinda Everitt
Michelle Johns
Nikka geers (no post)	http://Nikkageers.blogspot.com
Michelle Loncar
Gina Brandstetter
Sheila Bennett
Misty Jackson

Scholastic Workshop

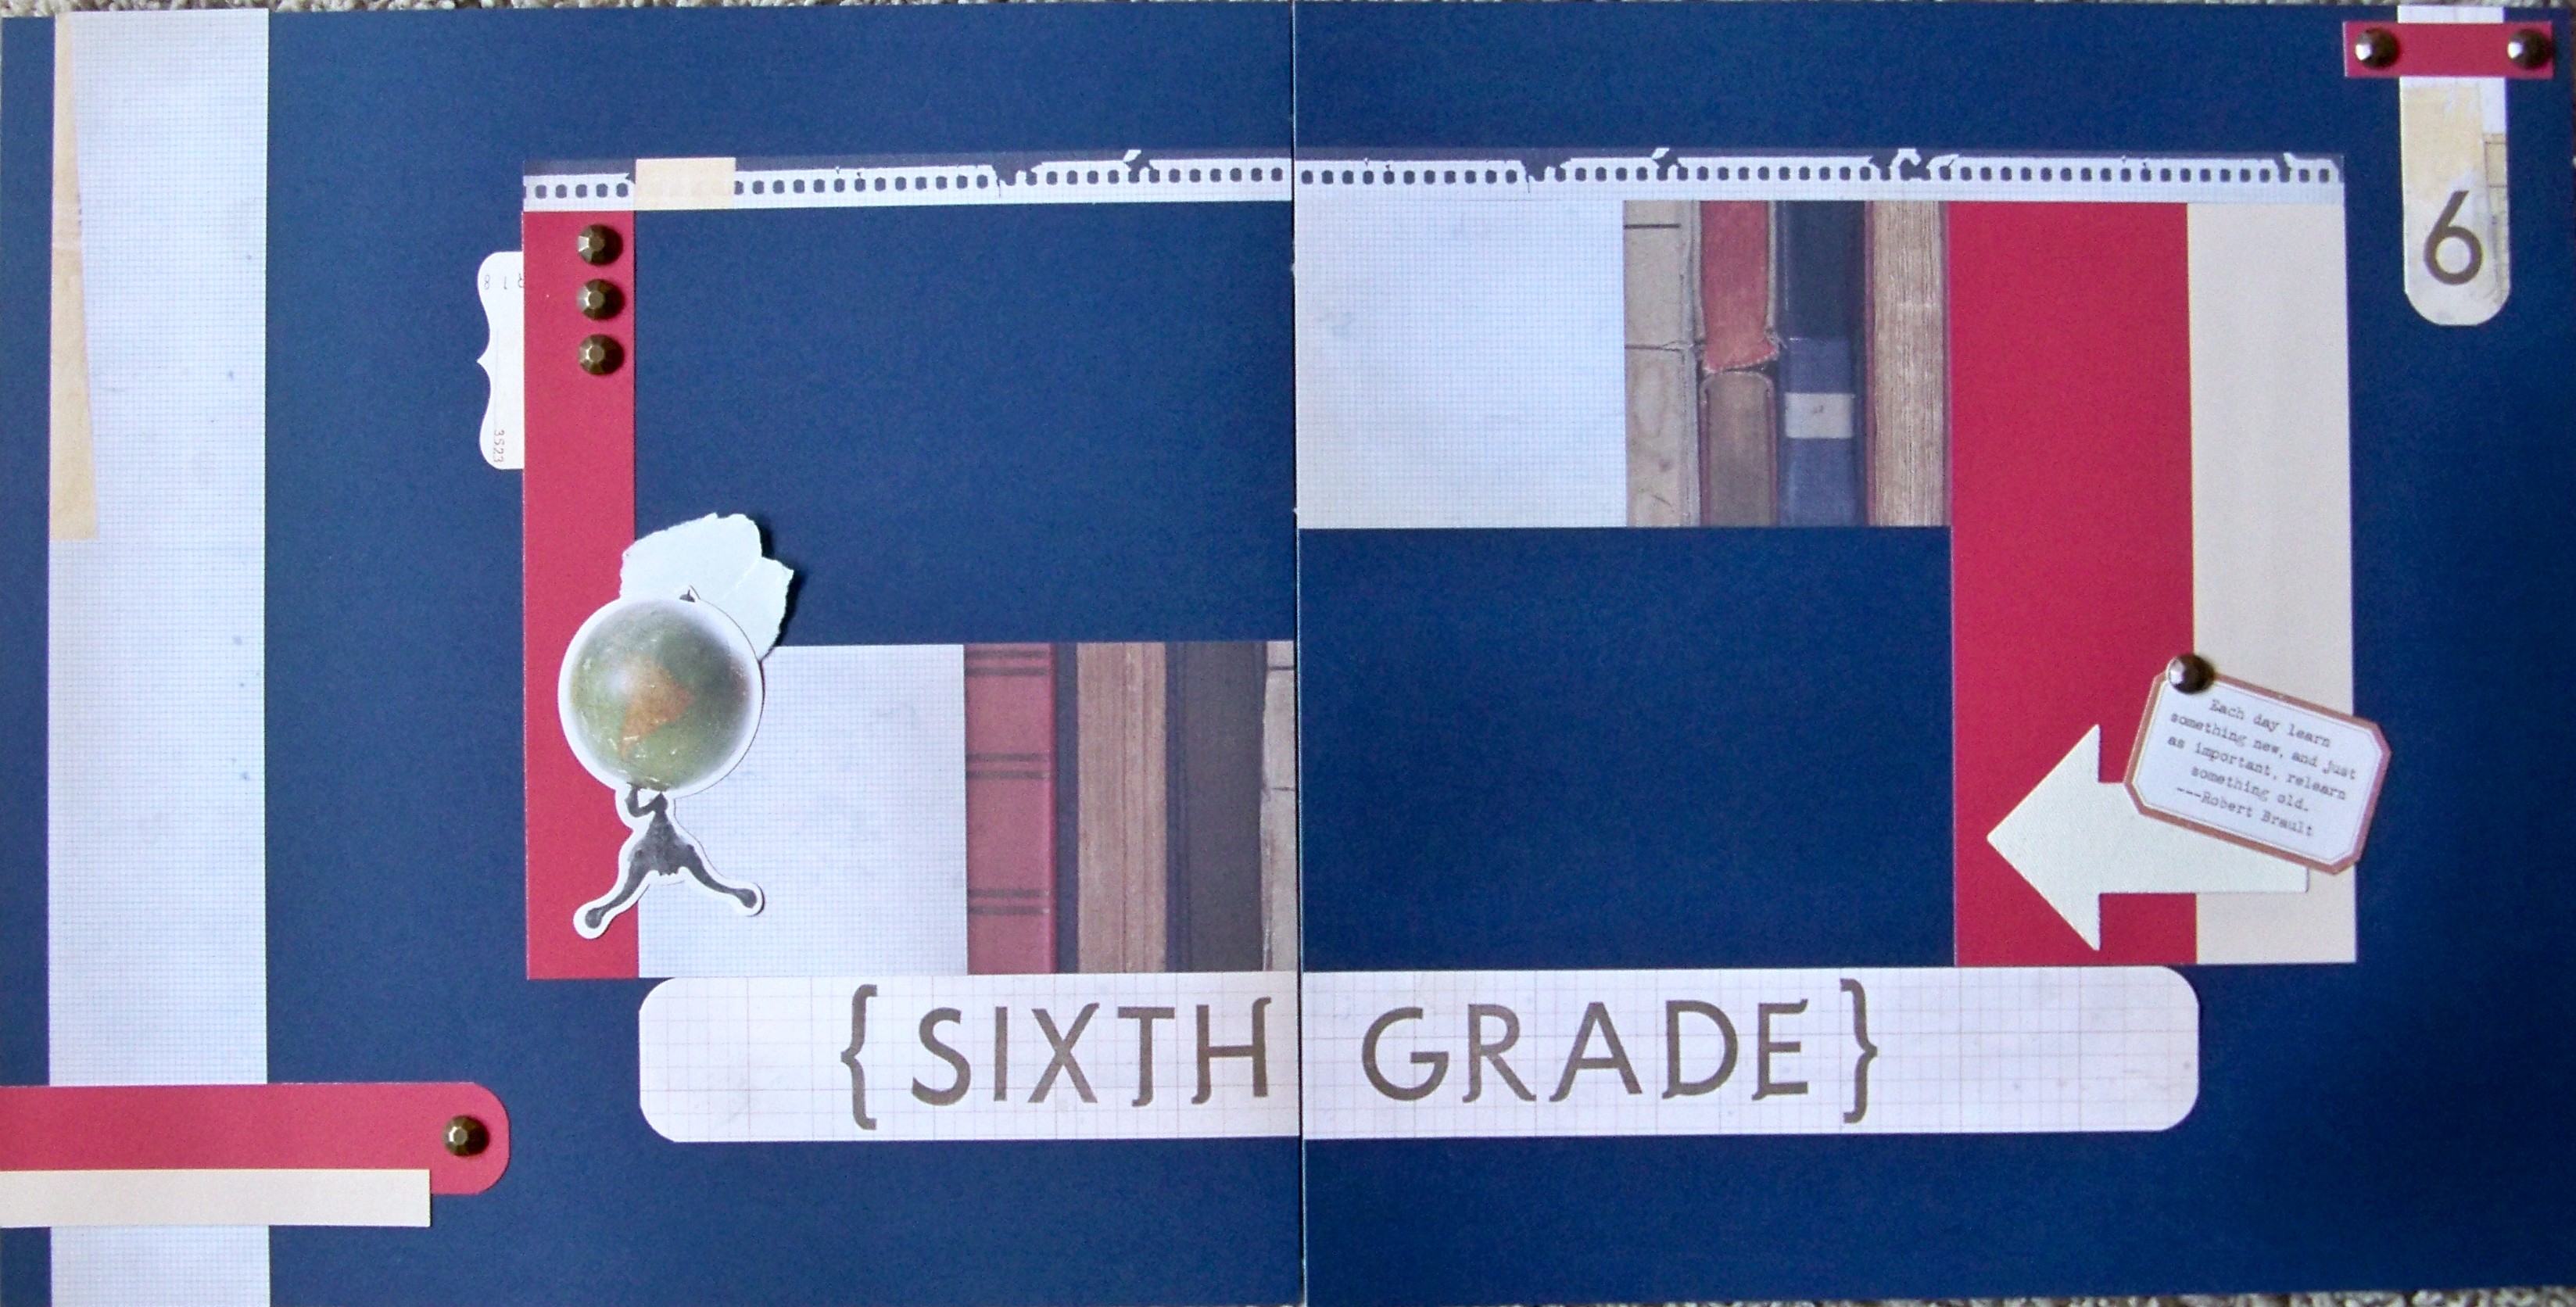
It’s time to start up workshops again, I am so excited!!  Our first one will be the Scholastic Workshop on the Go Kit on Friday, September 7 (Order by August 12).  You can still order even if you cannot attend or are not local, to find out how.  The pages in this workshop will be perfect for those first day of school pictures and they will work for any age!

Supplies used: Scholastic Paper Packet, Scholastic My Stickease, Color-Ready Noted Canvas Shapes, Durables Round Studs, Field Trip Alphabet stamp set, and Cocoa ink.

I liked (but not loved) the stamp set that came with this workshop so I decided to try something different.  I used the Scholastic My Stickease instead and replaced the square studs with the round ones.  The directions for the first layout are in the new Make It From Your Heart book and the second layout is available online.  This is a great option if you are not a stamper.  I am thrilled to have these pages planned out!  The two-page layout will be for Stephanie’s book (first day of middle school), the one-page will be for Christine (hard to get much for pictures of her), and the other half of that is my first ever ABOUT ME page and there are no pictures (wow, two toughies in one page!).

Mayberry Workshop Layouts

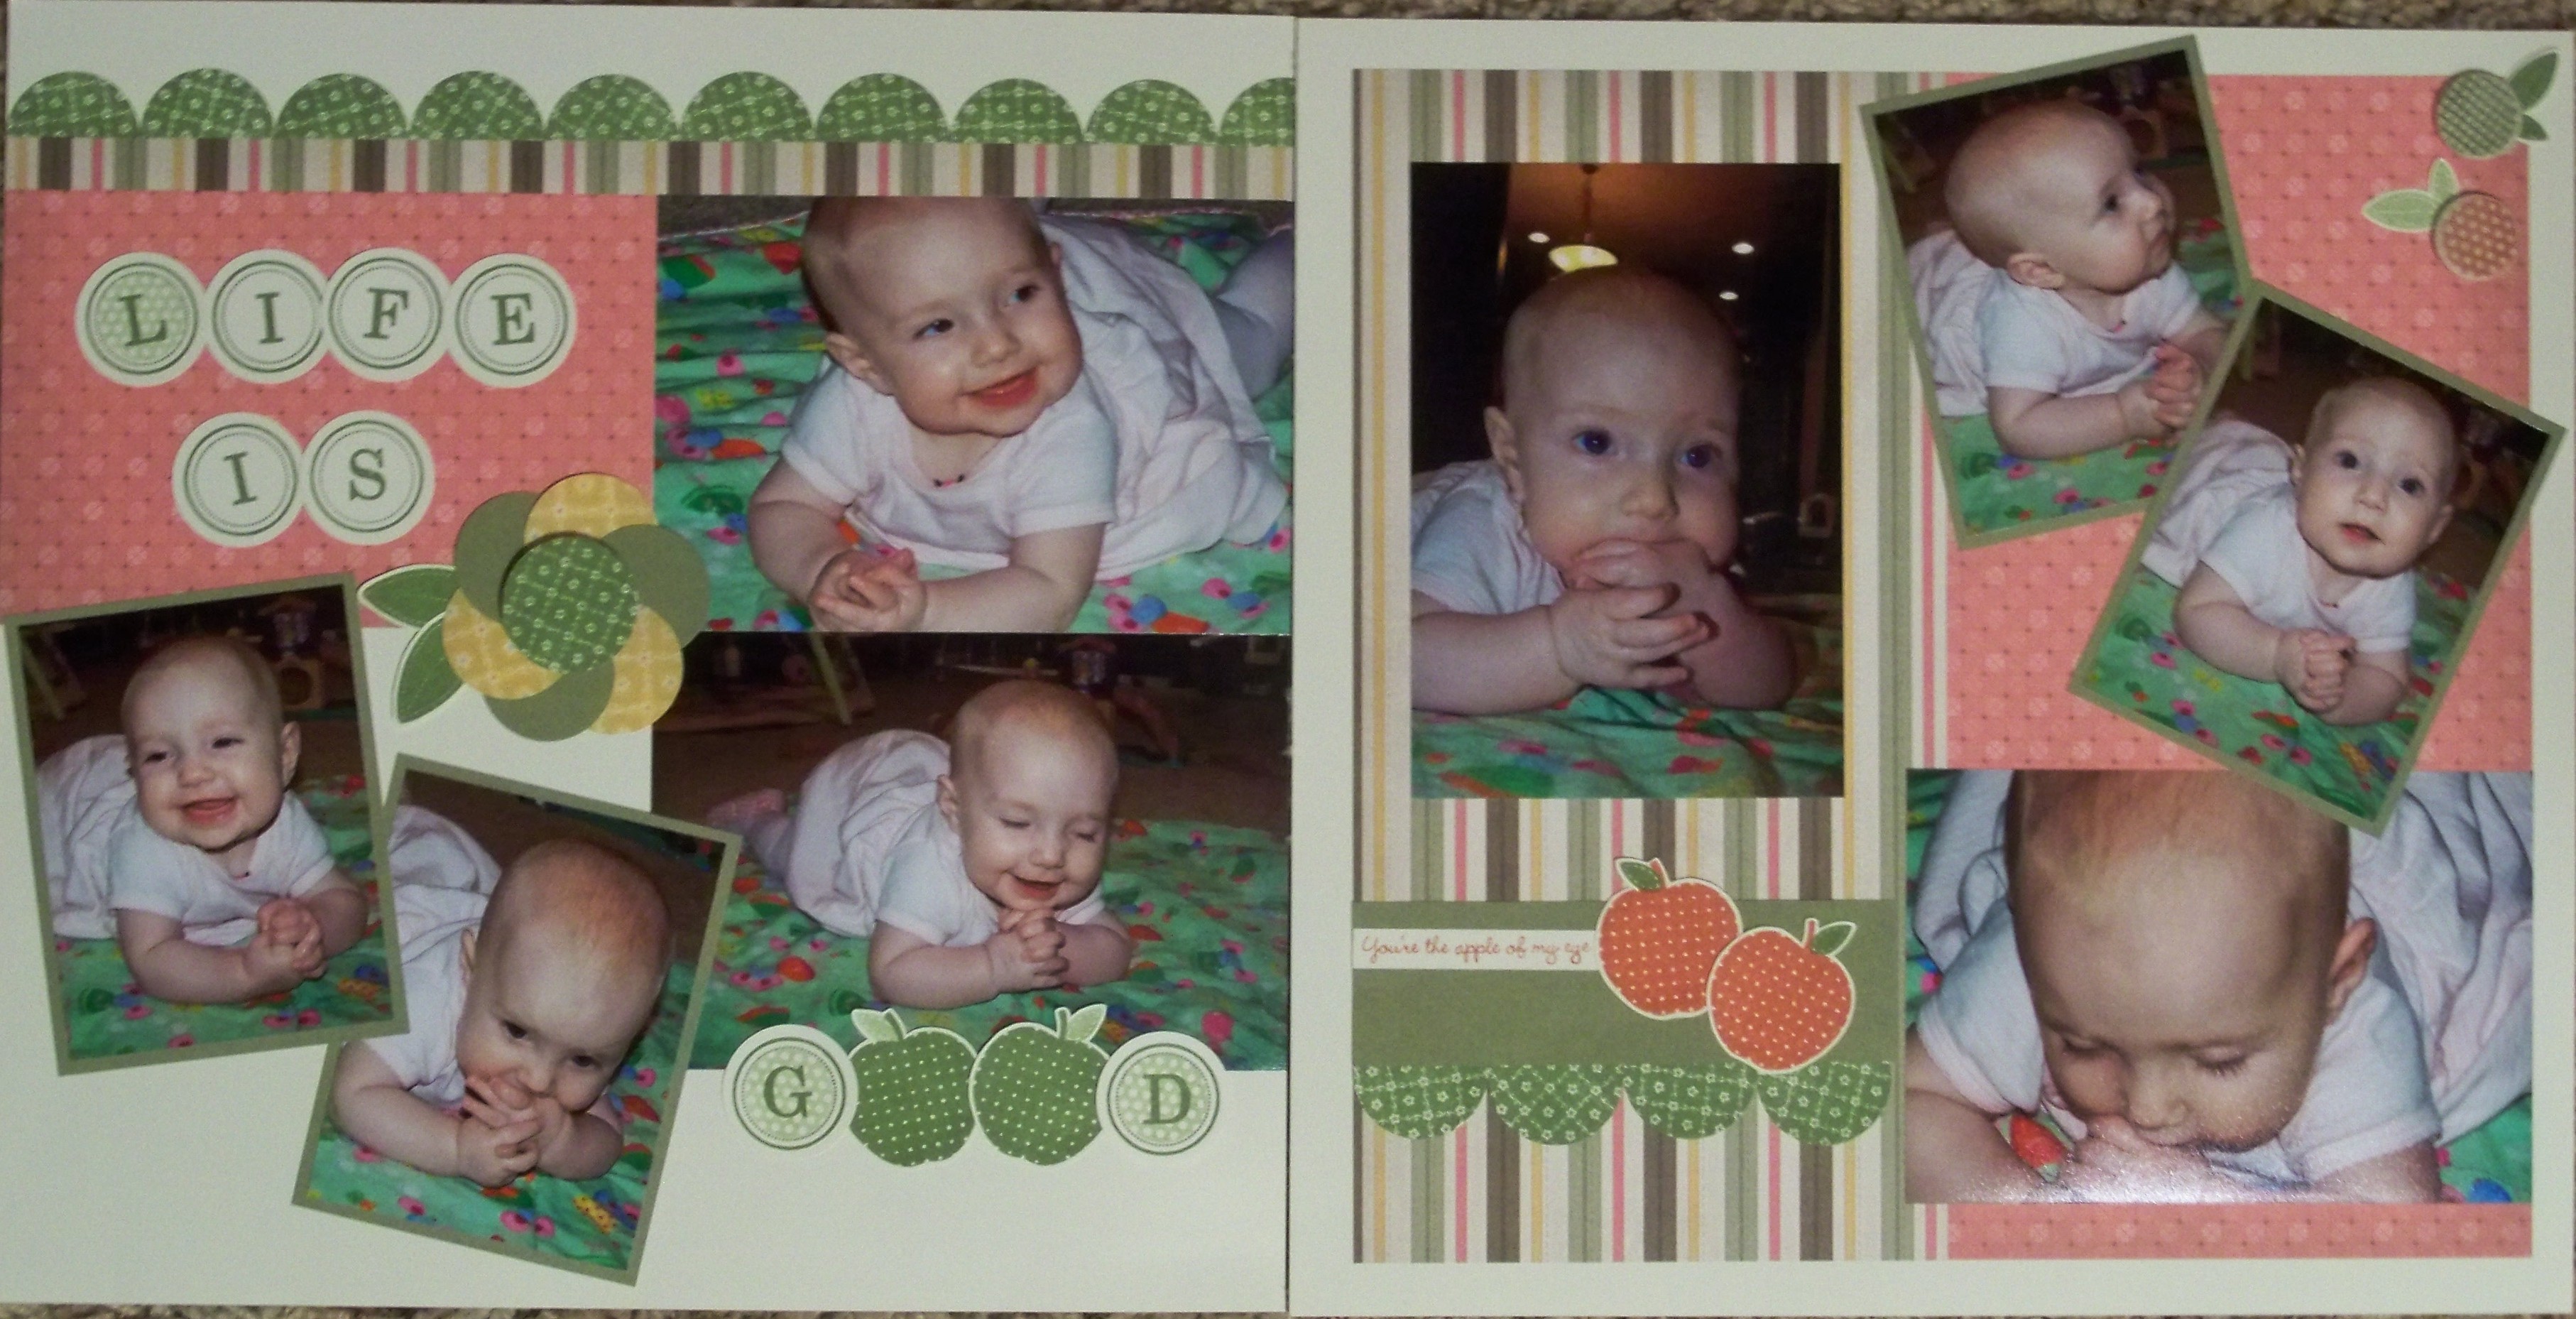
These are the layouts from the Mayberry Workshop on the Go Kit.  The top layout has become one of my favorites!  The scalloped frame is cut using the new Art Philosophy Cricut cartridge.  I cheated and cut it to the height I needed, then cut it (lined up with a scallop) to make it shorter to fit better around my photo.  Since it’s a solid color you can’t tell at all that I pieced it back together (just overlapped and glued down).