
Organizing your Paper Pumpkin Kits
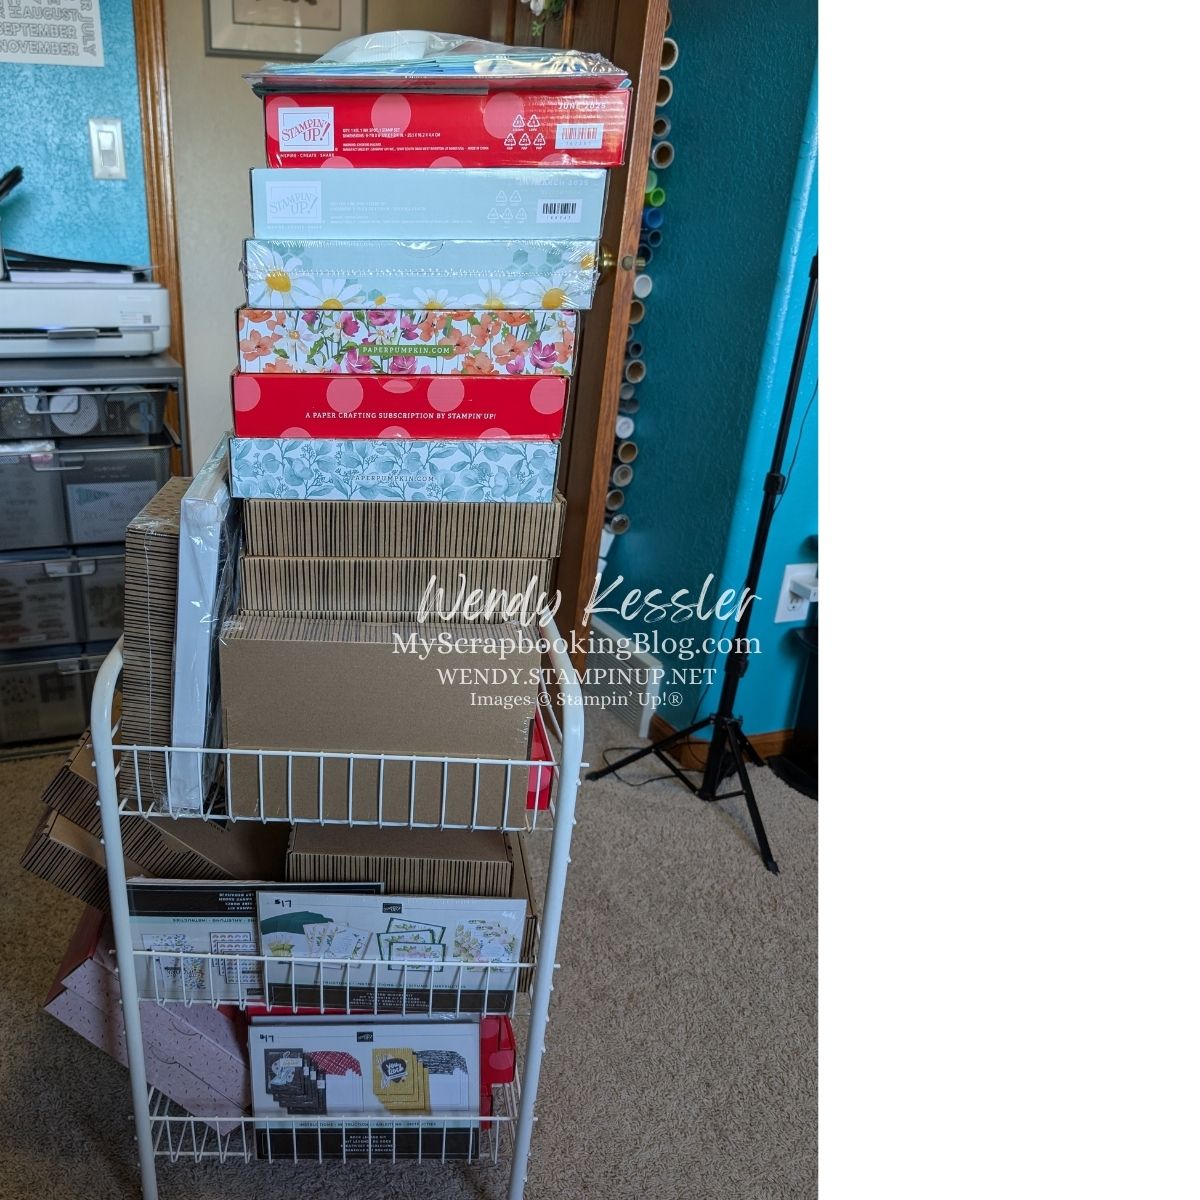
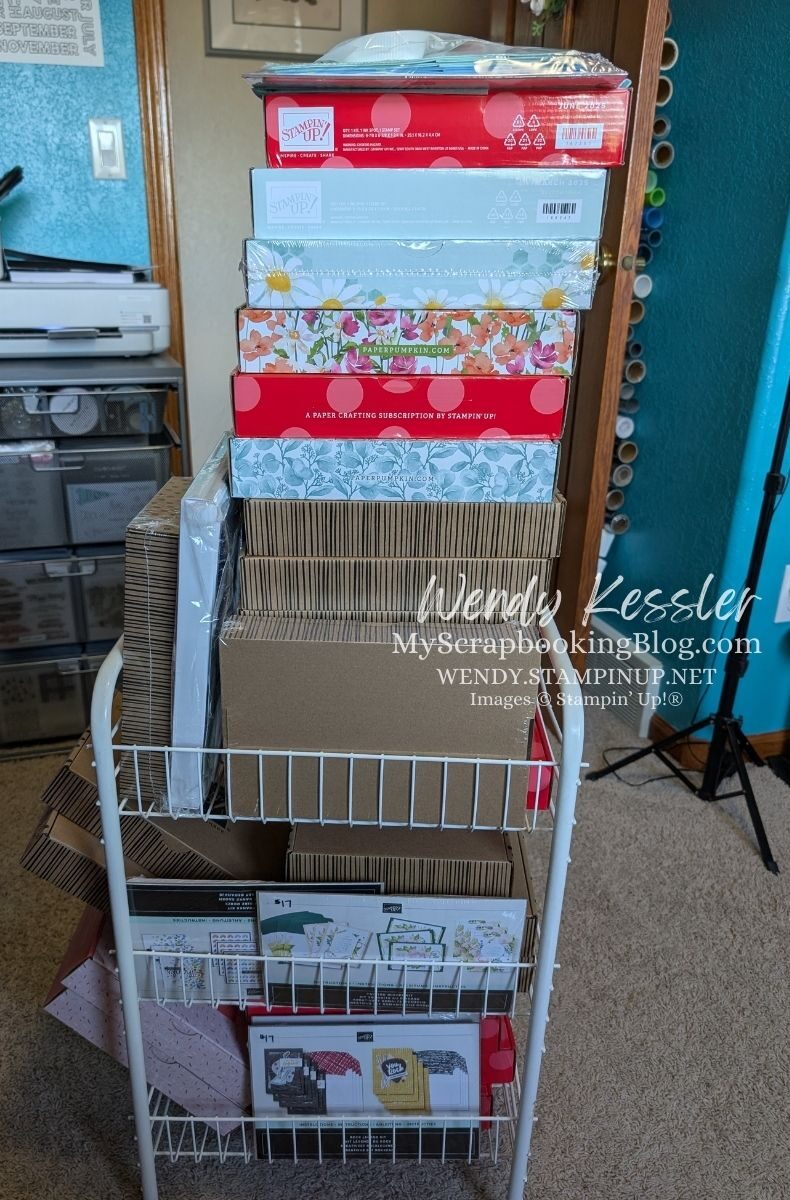
Let’s talk today about organizing your Paper Pumpkin kits. If you are a subscriber that loves these quick and easy kits that include all the supplies you need then you may also have an overflow of kits. Mine were quickly stacking up and taking up precious space.
I really wanted to limit the kits I had to this cute little cart. What I learned was that it was the boxes that were using up most of the space.
I purchased these envelopes off Amazon. The 7″ x 9.4″ was just the right size. I like that they are clear. I chose to keep the ink spot separate so I would write the name of the ink color on a sticky note, stick it to the stamp set, and add it to the envelope facing the outside. This way I can see what ink I need to grab when I’m ready to do the kit. It also allows me to keep the ink spots in one spot to use for other projects.
After doing this process to most of the kits here is what my “collection” now looks like:
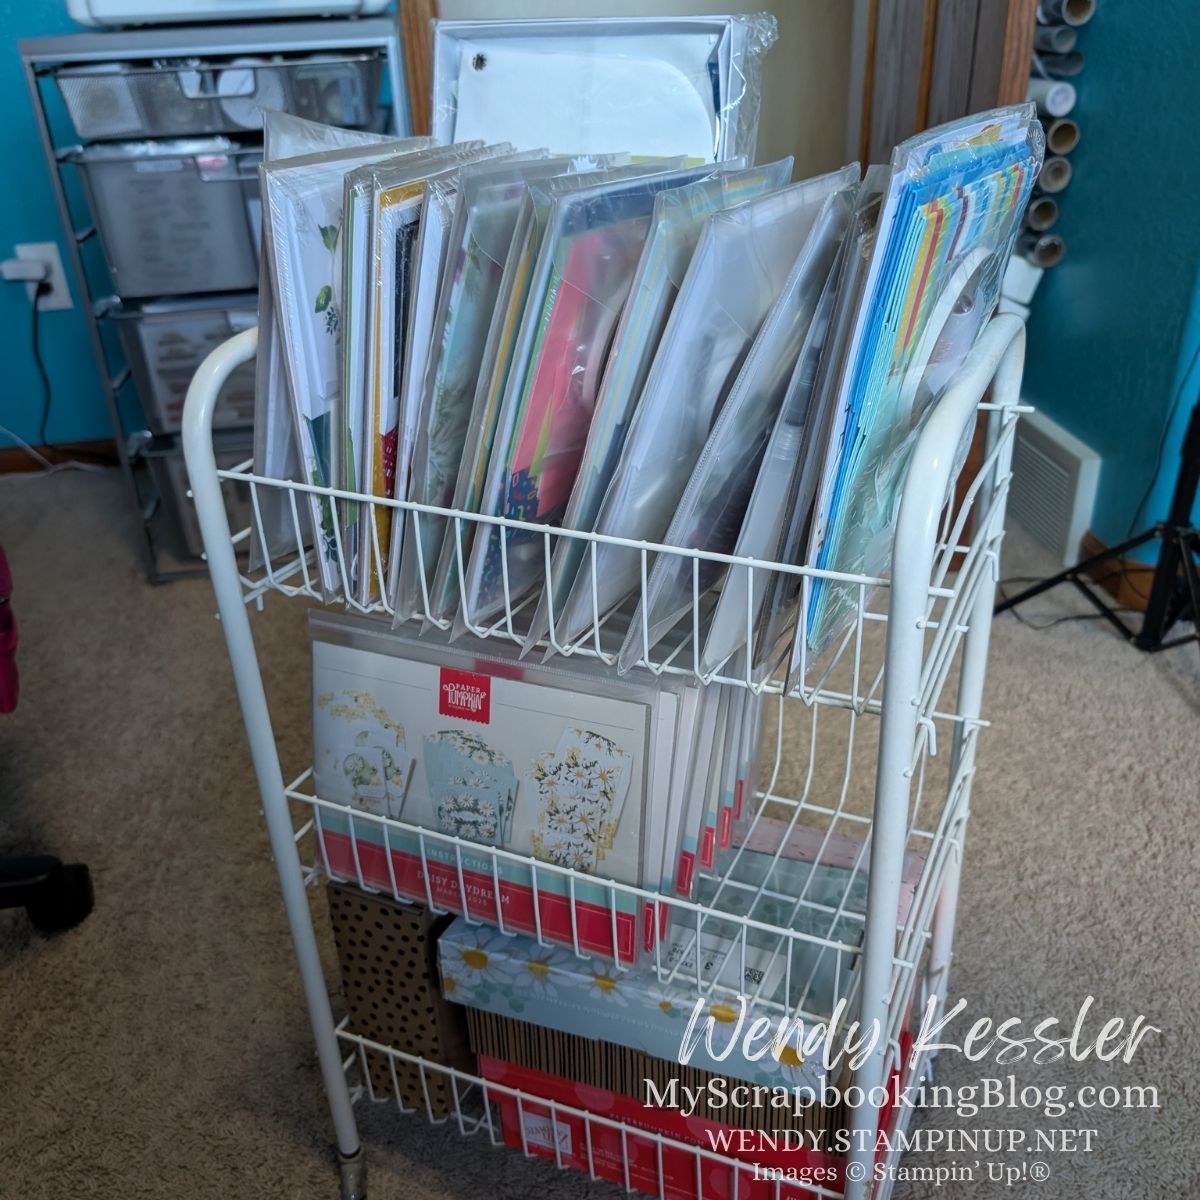
I did keep a few in their boxes on the bottom as those might be ones that I sell. This is so much more managable! As you may have noticed, I also have my own little challenge where I am playing “kit catchup” to see how many of these I can complete. I’d love for you to follow me and join along! I will be posting kits as I complete them as a reminder to keep going.
I tend to go in spirts when doing kits. They are a great way to get your creative mojo going.


