 The Basics:
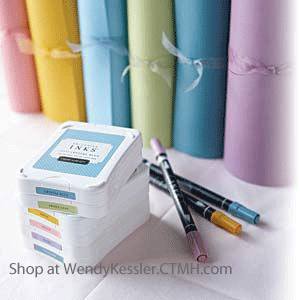
1. Each color comes with 2 markers for $5.95- base and shade
2. They are dual tipped, just like our old markers.
3. They are not refillable.
5. They should be shaken before using.
6. Alcohol inks can be layered on top of each other for greater blending and an increased color palette.
7. Alcohol inks are waterproof and can be used on other mediums besides just paper- like canvas, candles, etc.
8. There is bleed through with these markers so you want to make sure you have scratch paper underneath, AND you don’t want to color directly on your card. You will want to color the image and cut out or layer onto your card.
9. Make sure your fingers are clean because the alcohol will pull color off your fingers and onto the paper.
12. Do not use Staz On pads to stamp with because the alcohol markers will cause it to bleed.
14. The base shade is the color that matches the Cardstock. The other marker is a complimentary color.
Techniques:
1. Marker Blending on paper
- Start with your lightest color first, going from light to dark
- Color evenly and smoothly in a circular motion, to avoid streaks with the base color
- Then add the darker color on the part you want.
- Repeat several times till you get the blend you want.
2. Feather Blending
- Works best with long and narrow images, like petals.
- You need two different colors, then choose the lighter shade of each.
- Color the image with your first color, in one direction, coloring only about 3/4’s of the way across your image. Go over it until it’s not streaky.
- Take your second color and do the same thing in the alternate direction, from the other side, about 3/4’s of the way, until it’s not streaky.
- Continue doing this until the color in the middle is a nice blend.
- The blending pen isn’t so much a blender, but a color pusher.
- If you colored outside the lines, grab the blender pen before the ink is dry and use it to “push” the color back inside the lines.
- You can also use this pen to make polka dots or lines on images you’ve colored in.


