Stamp Sunday #39: Stitched Together
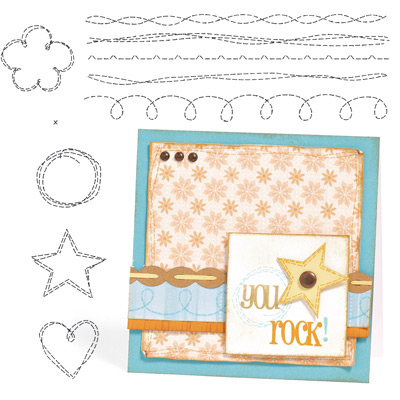
C1459 Stitched Together Here’s another altered notebook.  Once again, I have specified it to the interests of this particular girl per my daughter’s request.  I used the Cricut Create-a-Critter cartridge (so super cute!),…