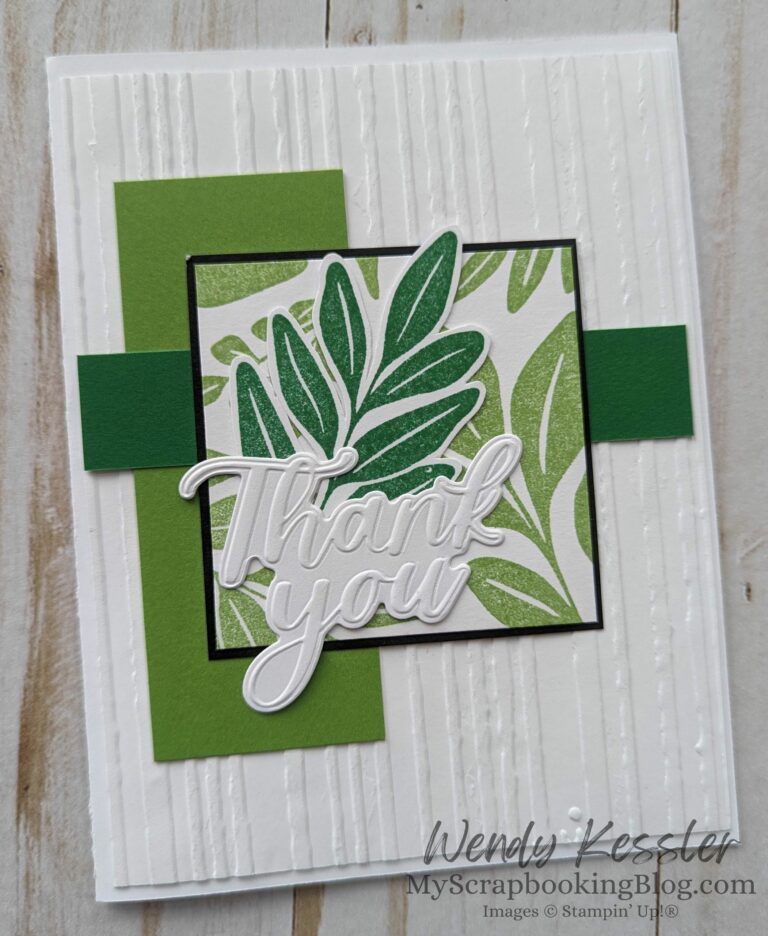
Leaf Collection Card
Used: Stampin’ Up! Leaf Collection stamp set, Stampin’ Up! Thoughtful Moments Hybrid Embossing Folder and dies, Tim Holtz Stripes embossing folder.
Used: Stampin’ Up! Leaf Collection stamp set, Stampin’ Up! Thoughtful Moments Hybrid Embossing Folder and dies, Tim Holtz Stripes embossing folder.
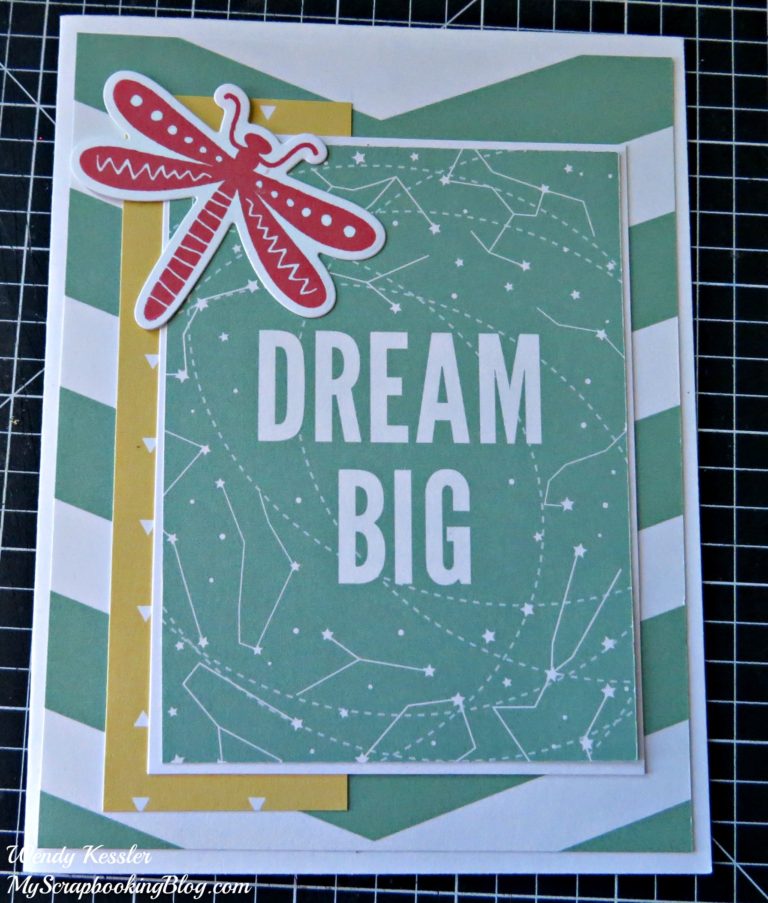
I made a couple cards today, inspired by sketches and using up some scraps.  Here’s my first one.  I used this week’s Mojo Monday sketch. Supplies used are all CTMH: Dreamin’ Big…
The Workshop Your Way Hello Baby Cardmaking Kit includes: 1 – Exclusive workshop stamp set 3 – Sheets Hello Lovely B&T Duos 1 – Cardstock Sheet (White Daisy) 1 – Blush Shimmer Ribbon 1…
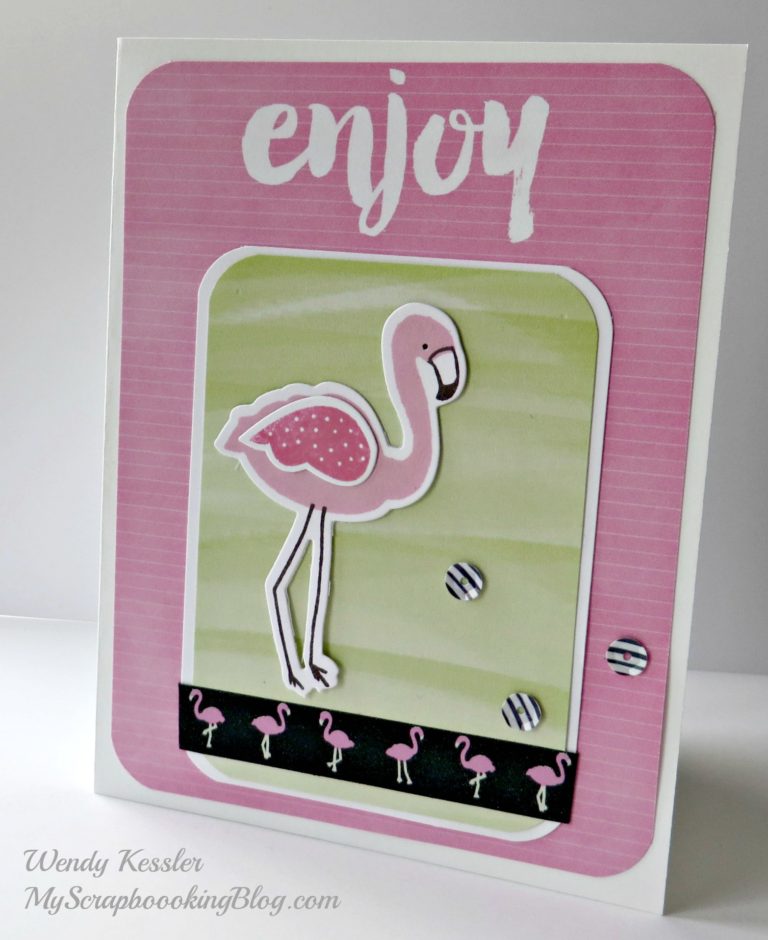
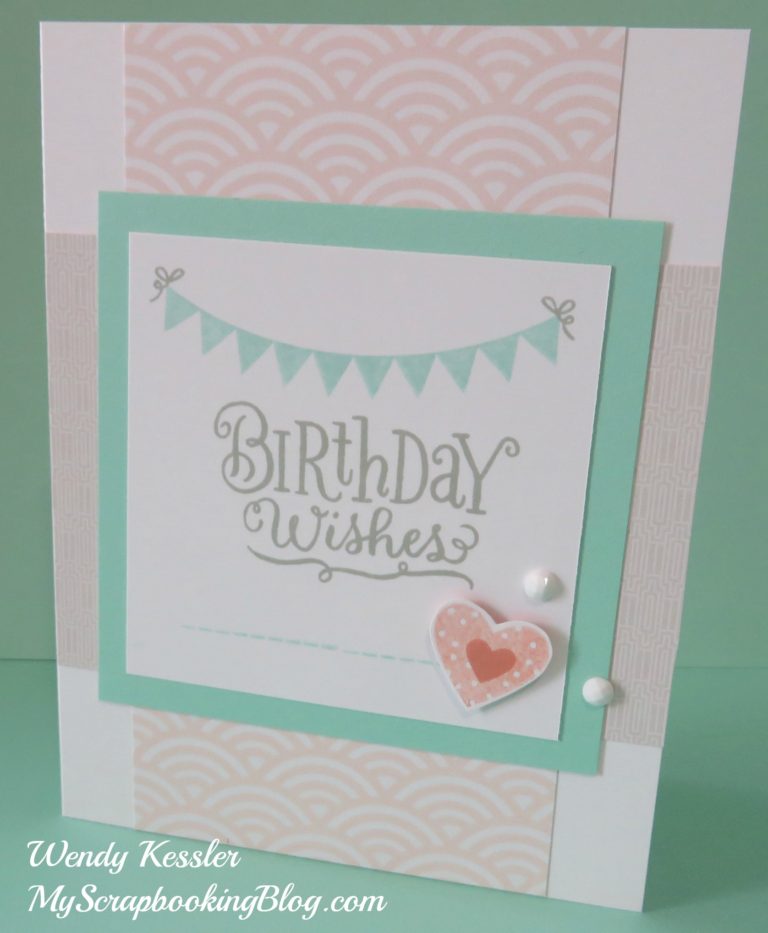
Supplies used are all Close to My Heart: Calypso Paper Packet, Calypso Sequins, Calypso Washi Tape, Tickled Pink stamp set, Tickled Pink Thin Cuts, Ink (Black, Pixie, Cotton Candy), 1″ Circle Punch,…

Supplies used are all Close to My Heart: Regatta Paper Packet, White & Gold Ribbon, Artiste Cricut Collection (Birthday Stamp Set), Pomegranate Ink, and Sequins Assortment Gold. Note: If your “Oh Happy…