Scrapbook Pages
More Chantilly Layouts
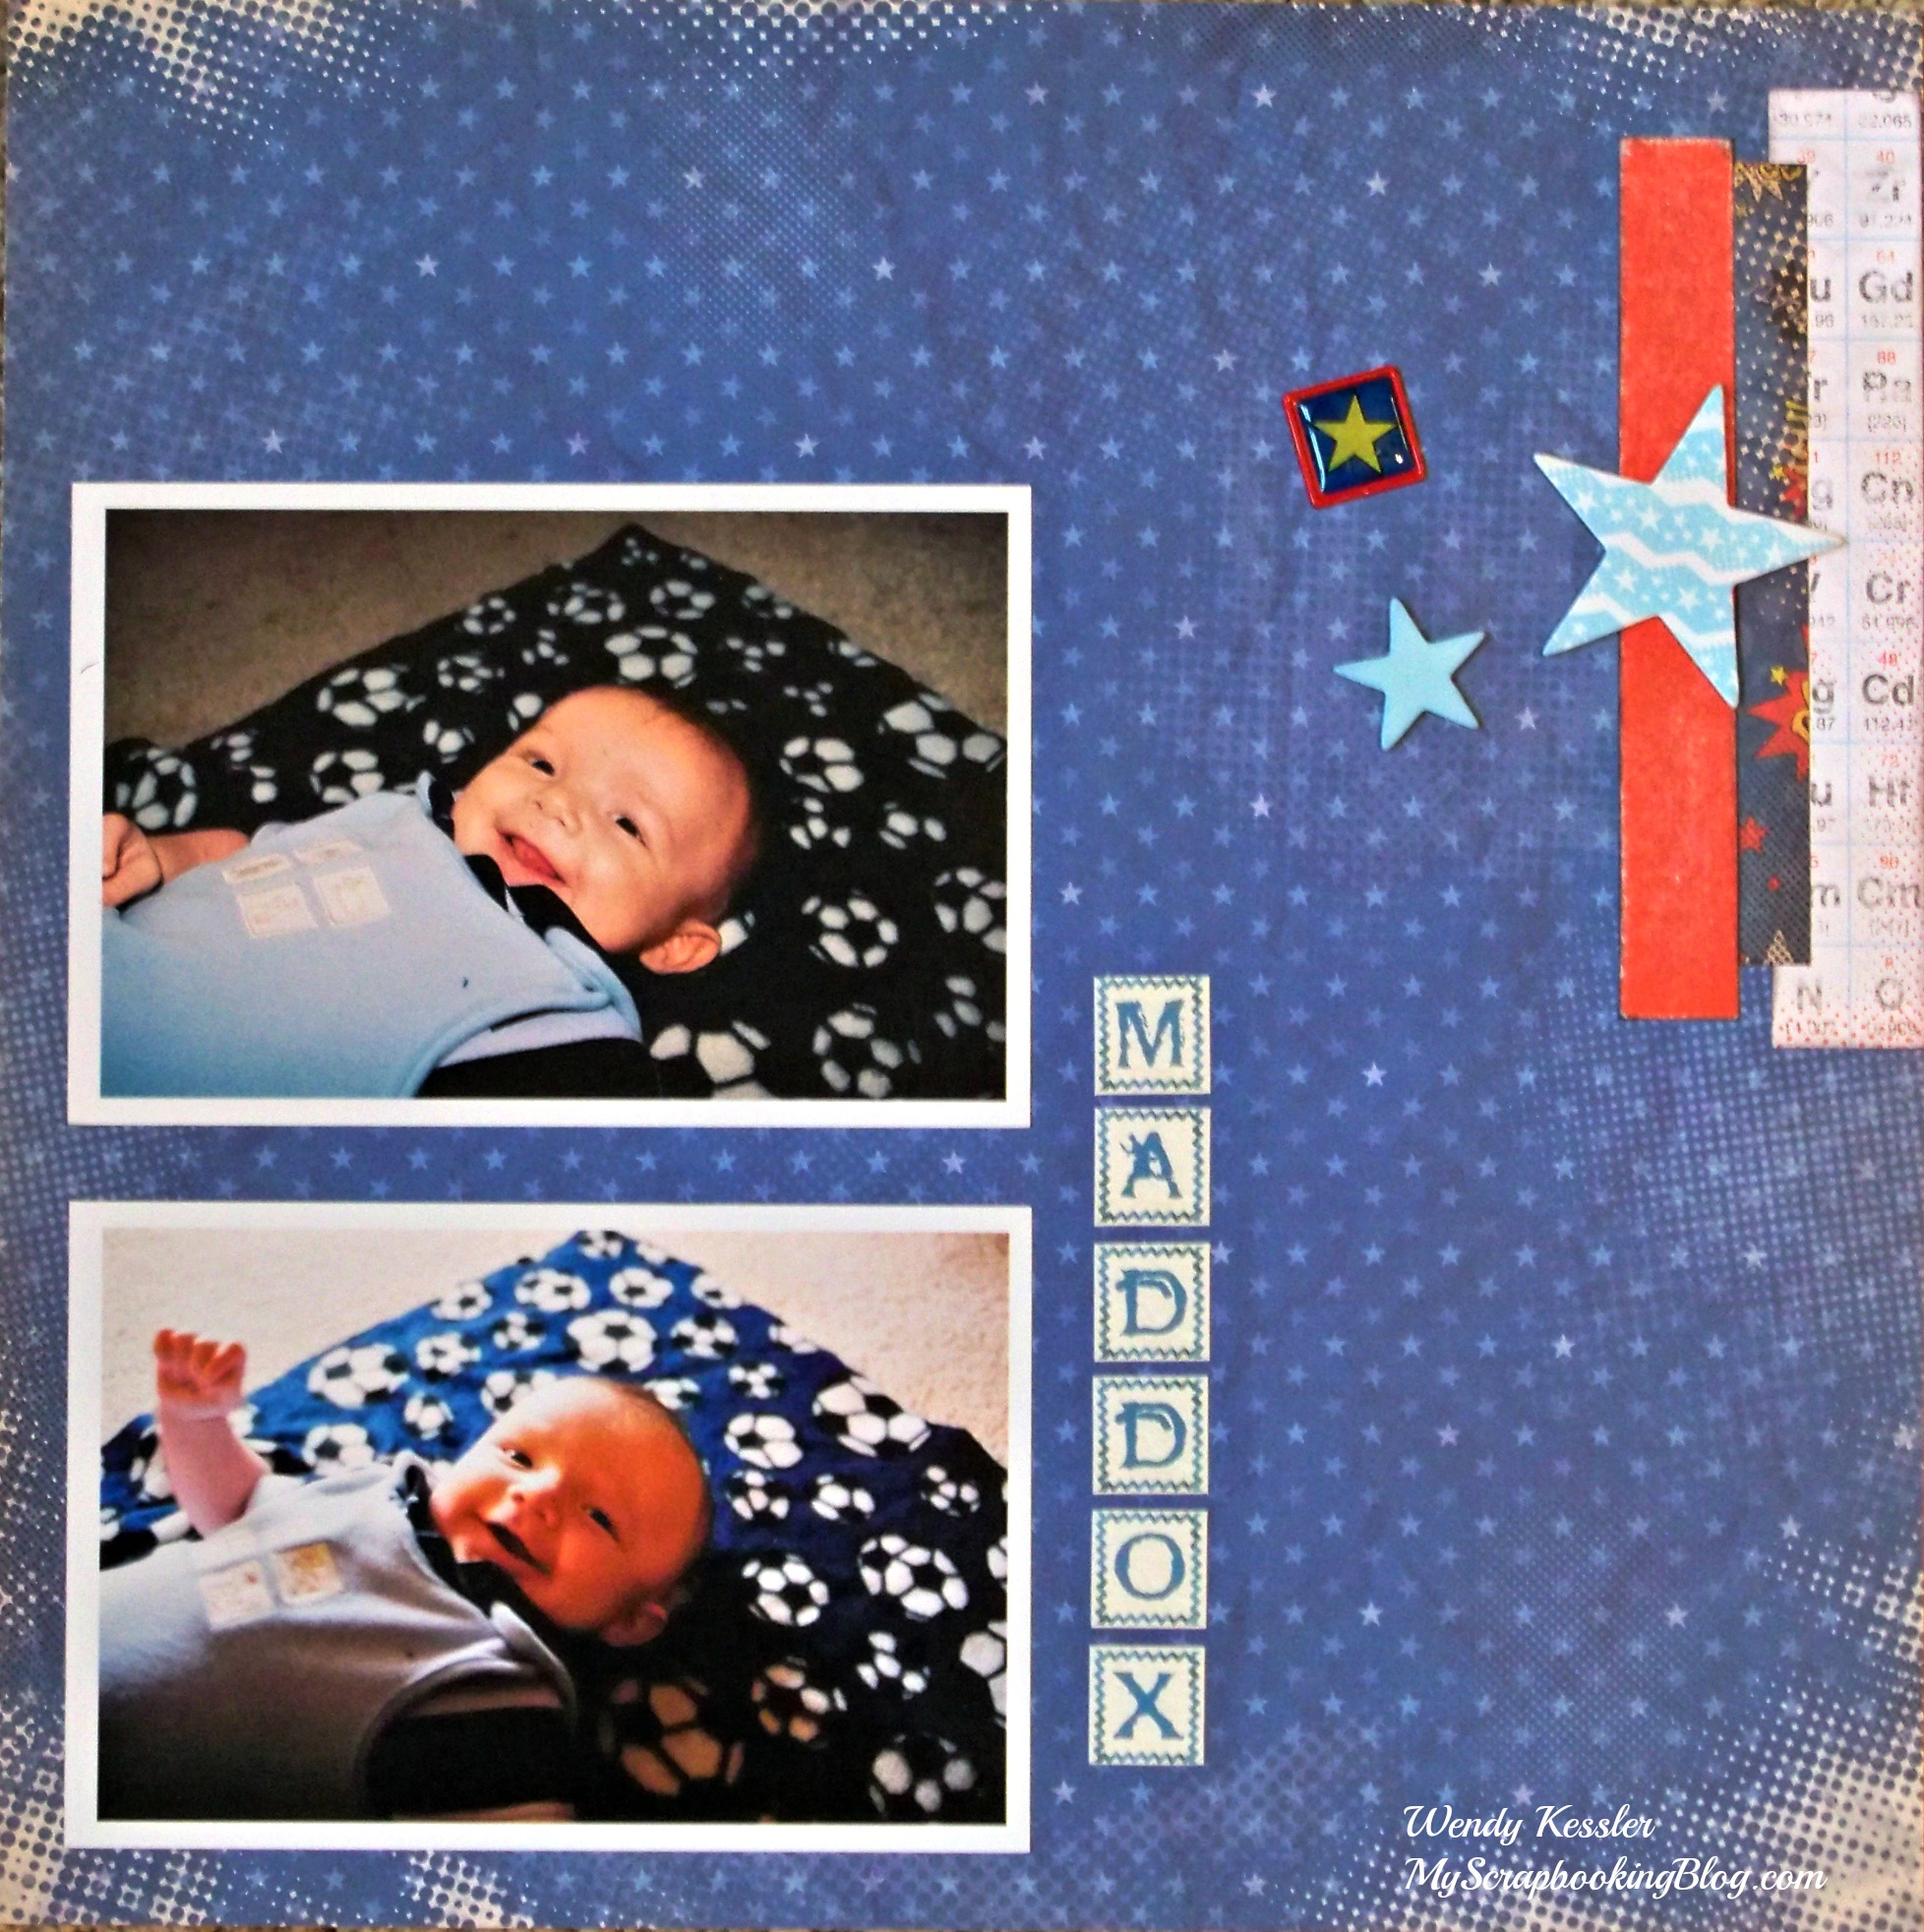
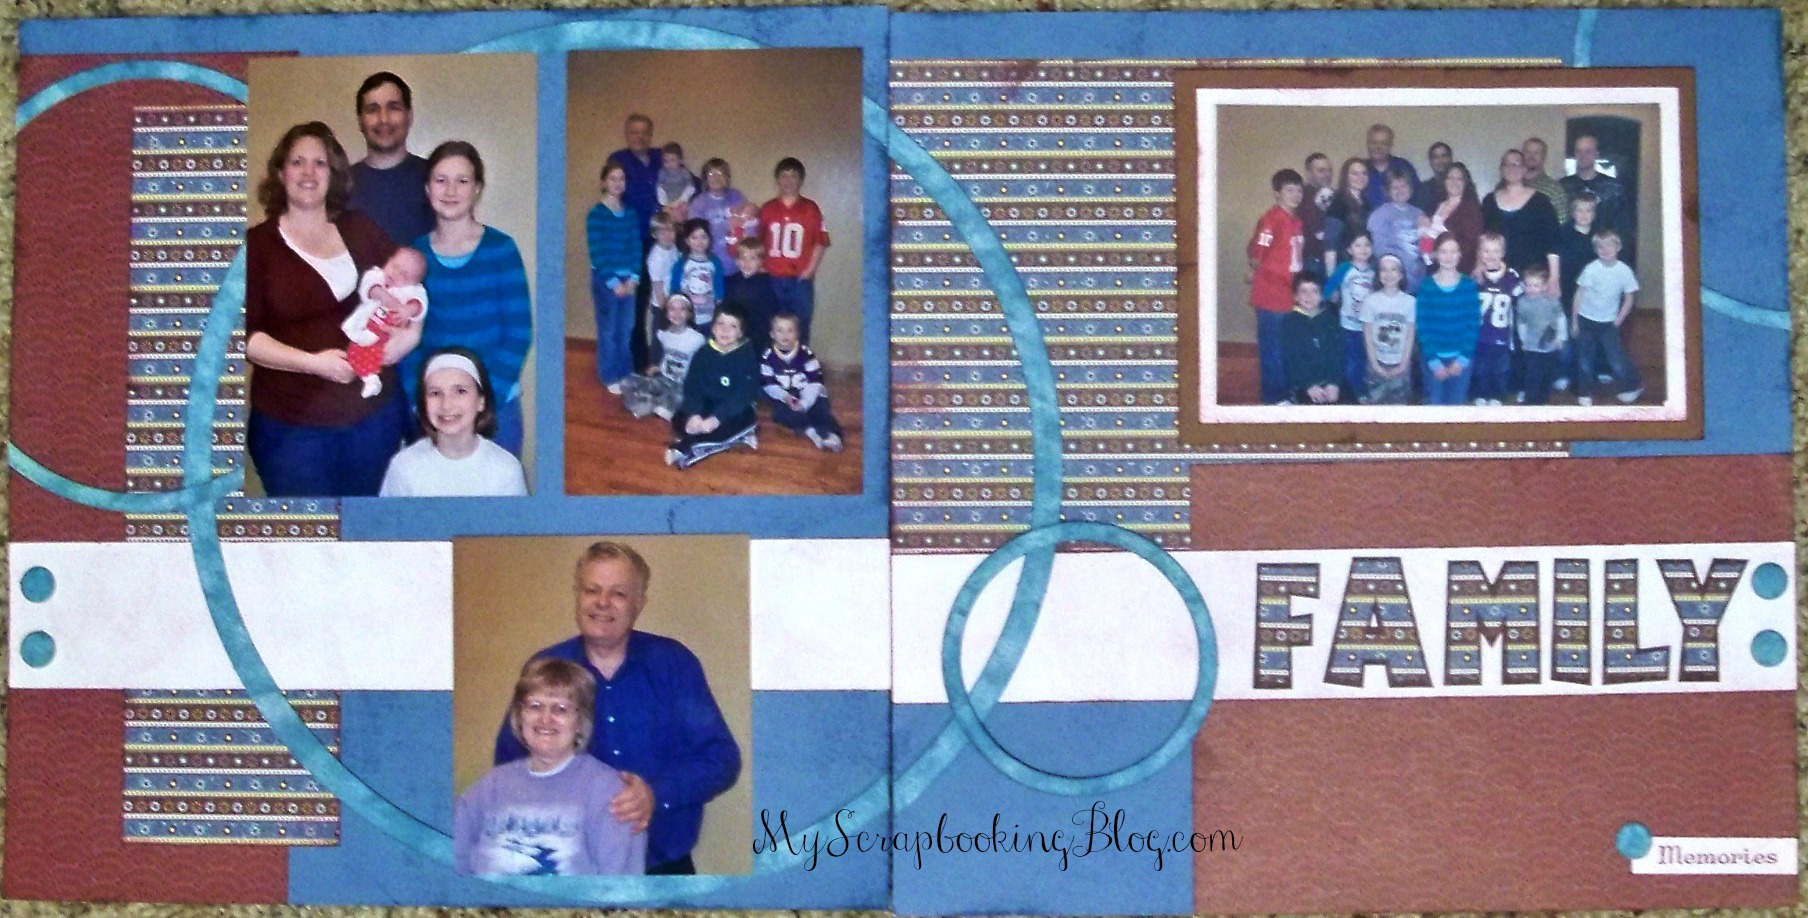
Here are some additional layouts using the Chantilly papers and the Chantilly Complements Dimensional Elements.  I missed the layout ideas that used to be on the back of the My Stickease sheets until I realized that I could just look in the Idea Book for ideas (duh!).  So look at Read more…